How it works...
The following sequence demonstrates how Through-Wall Flashing effectively protects this home from wet weather leaks.
Click on photos (not captions) to enlarge.
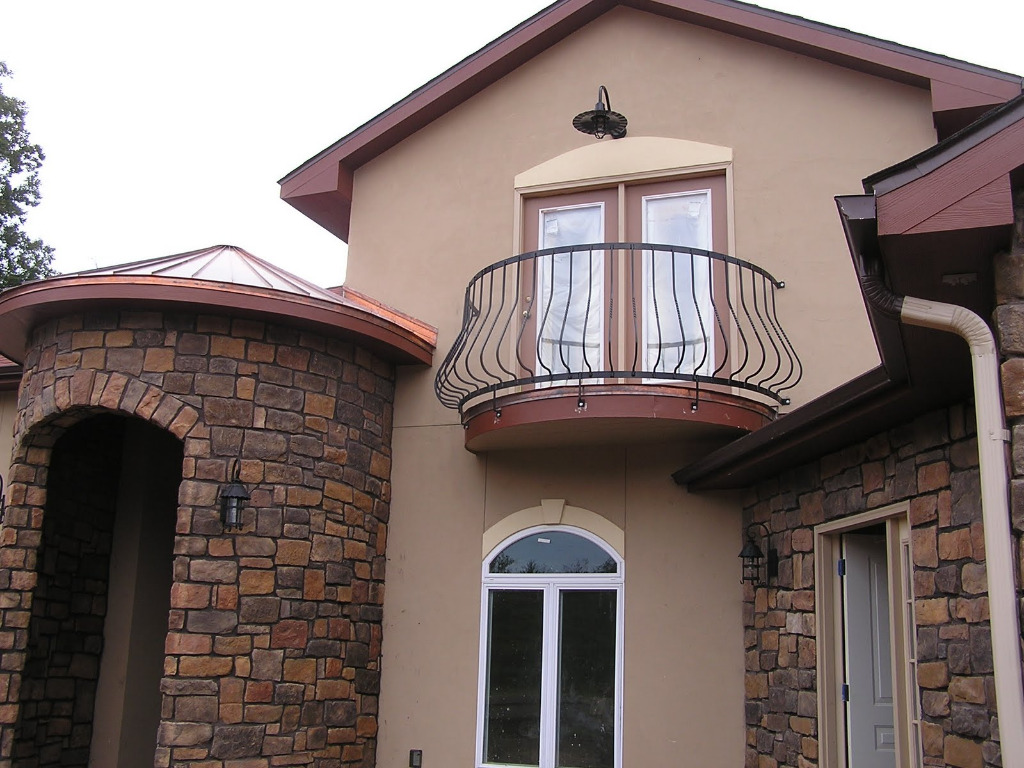


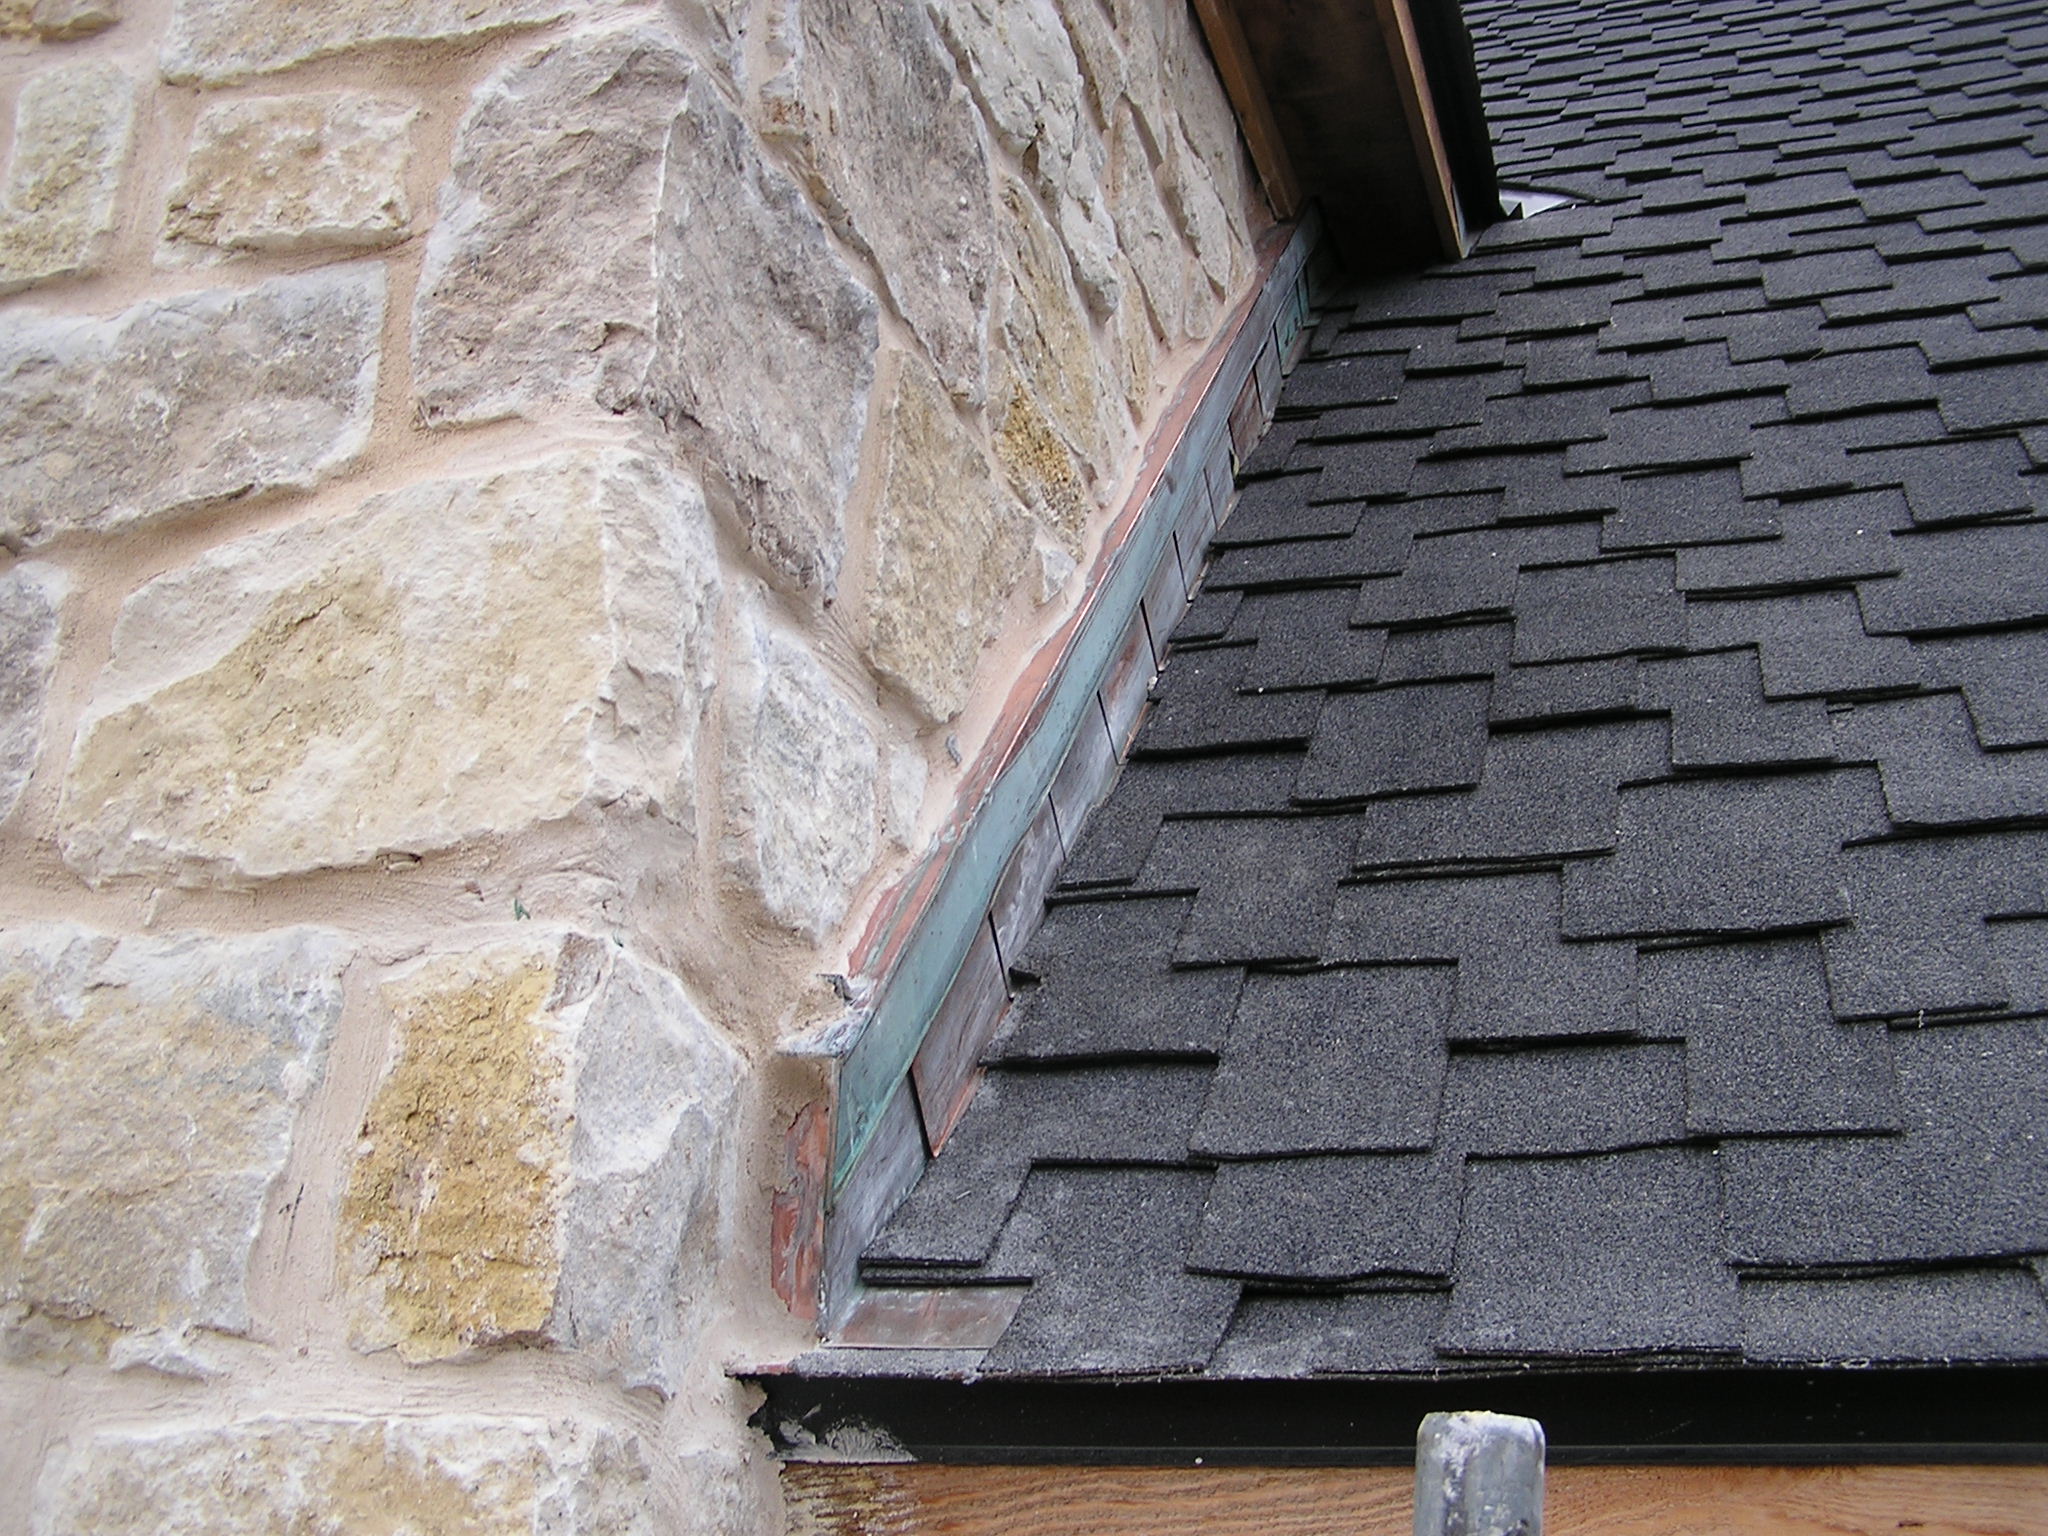
Through-Wall Flashing protects this gable in all areas vulnerable to potential water leaks. Note that masonry is set within the copper trough, providing an outlet for water to escape--outside the structure, which keeps the inside dry.
Click on photos to enlarge.


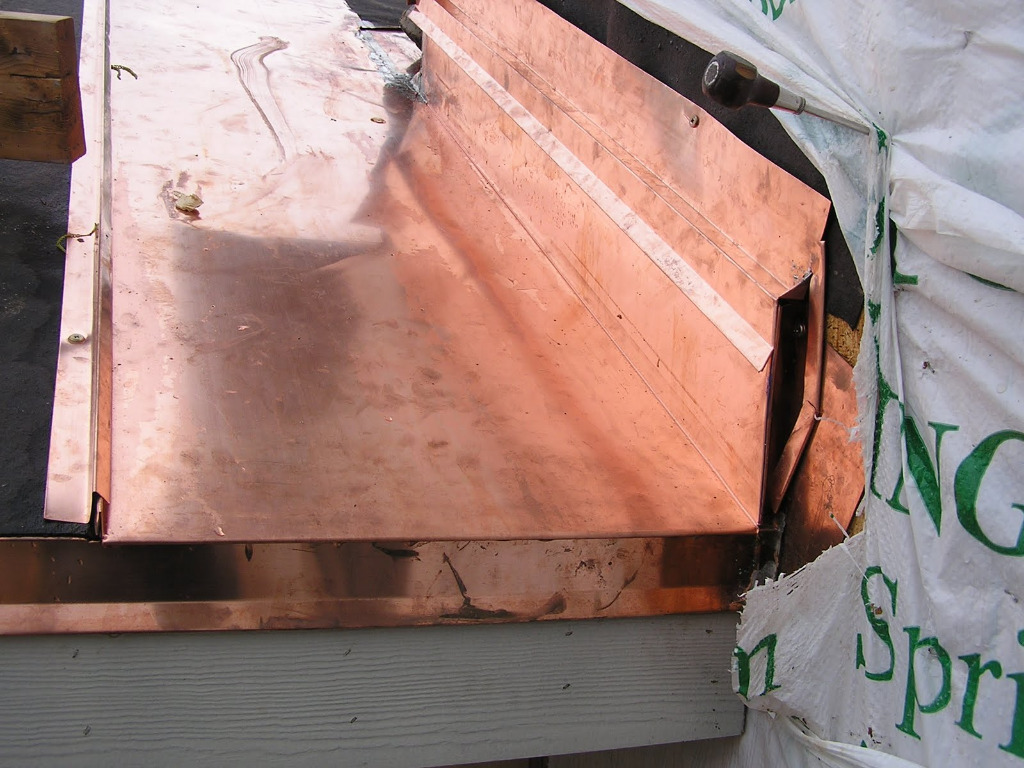
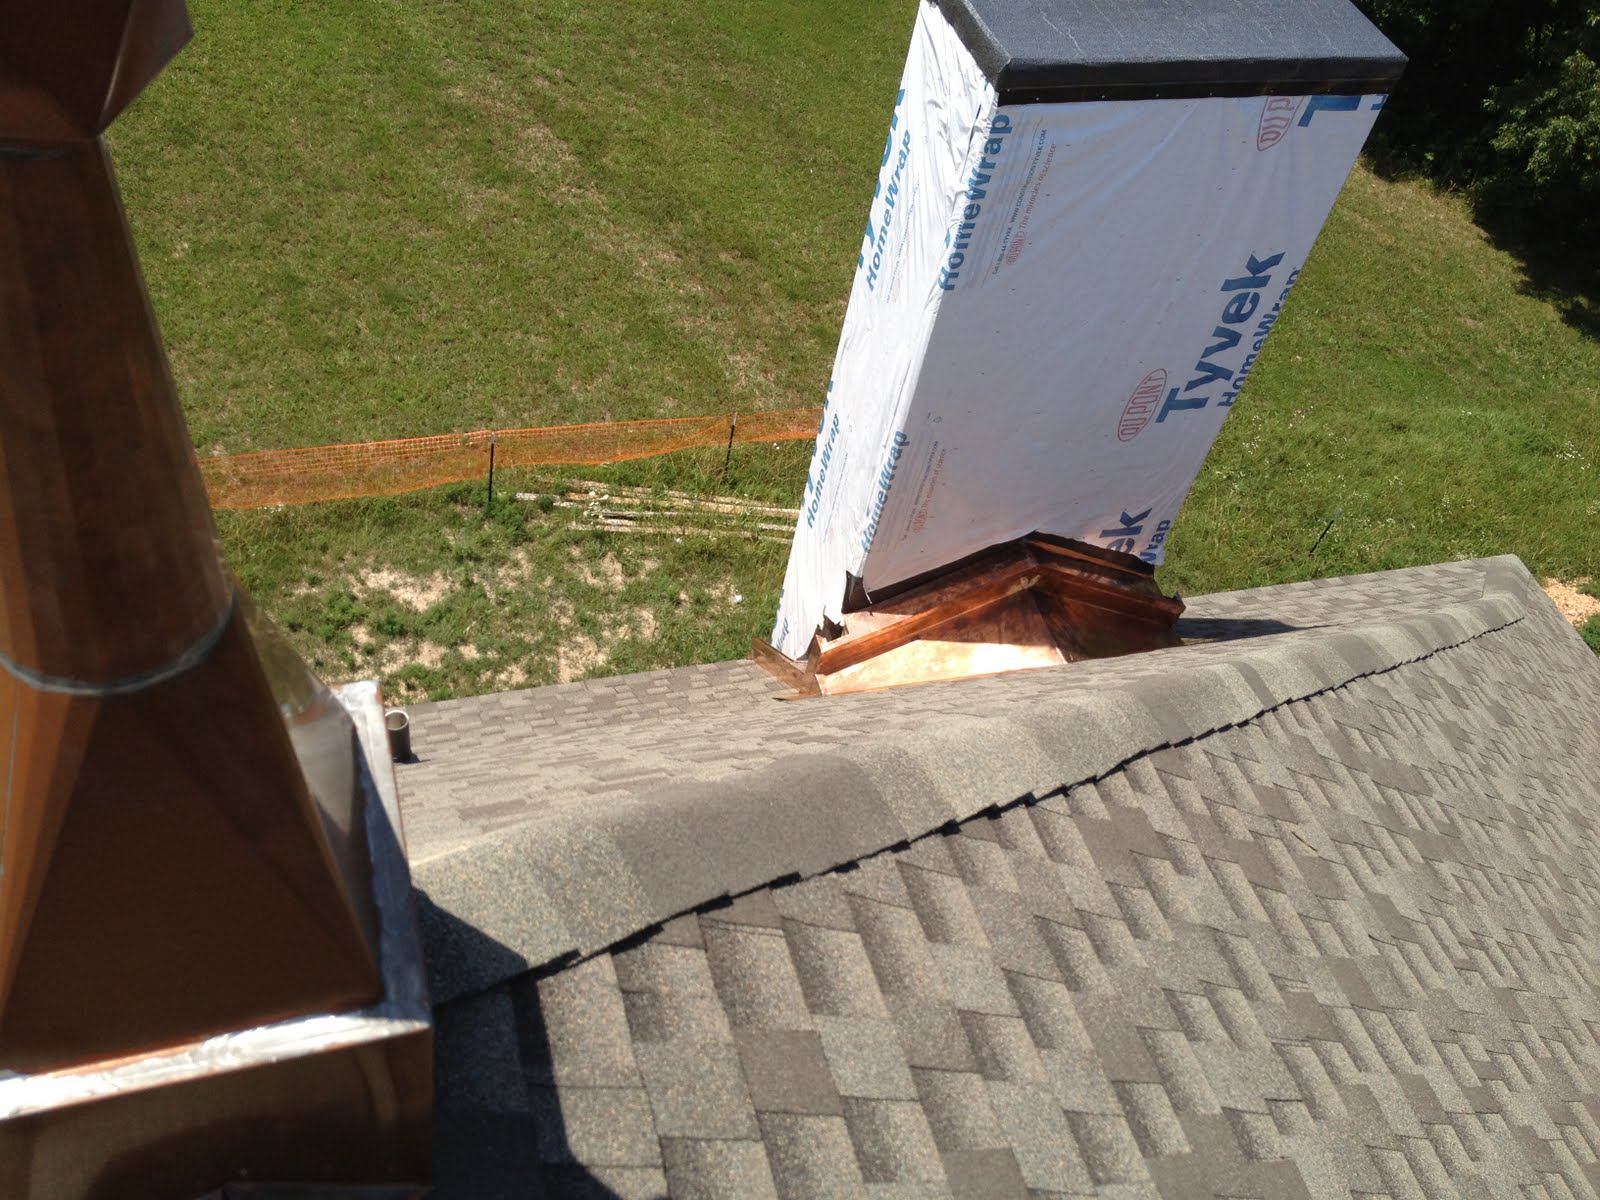
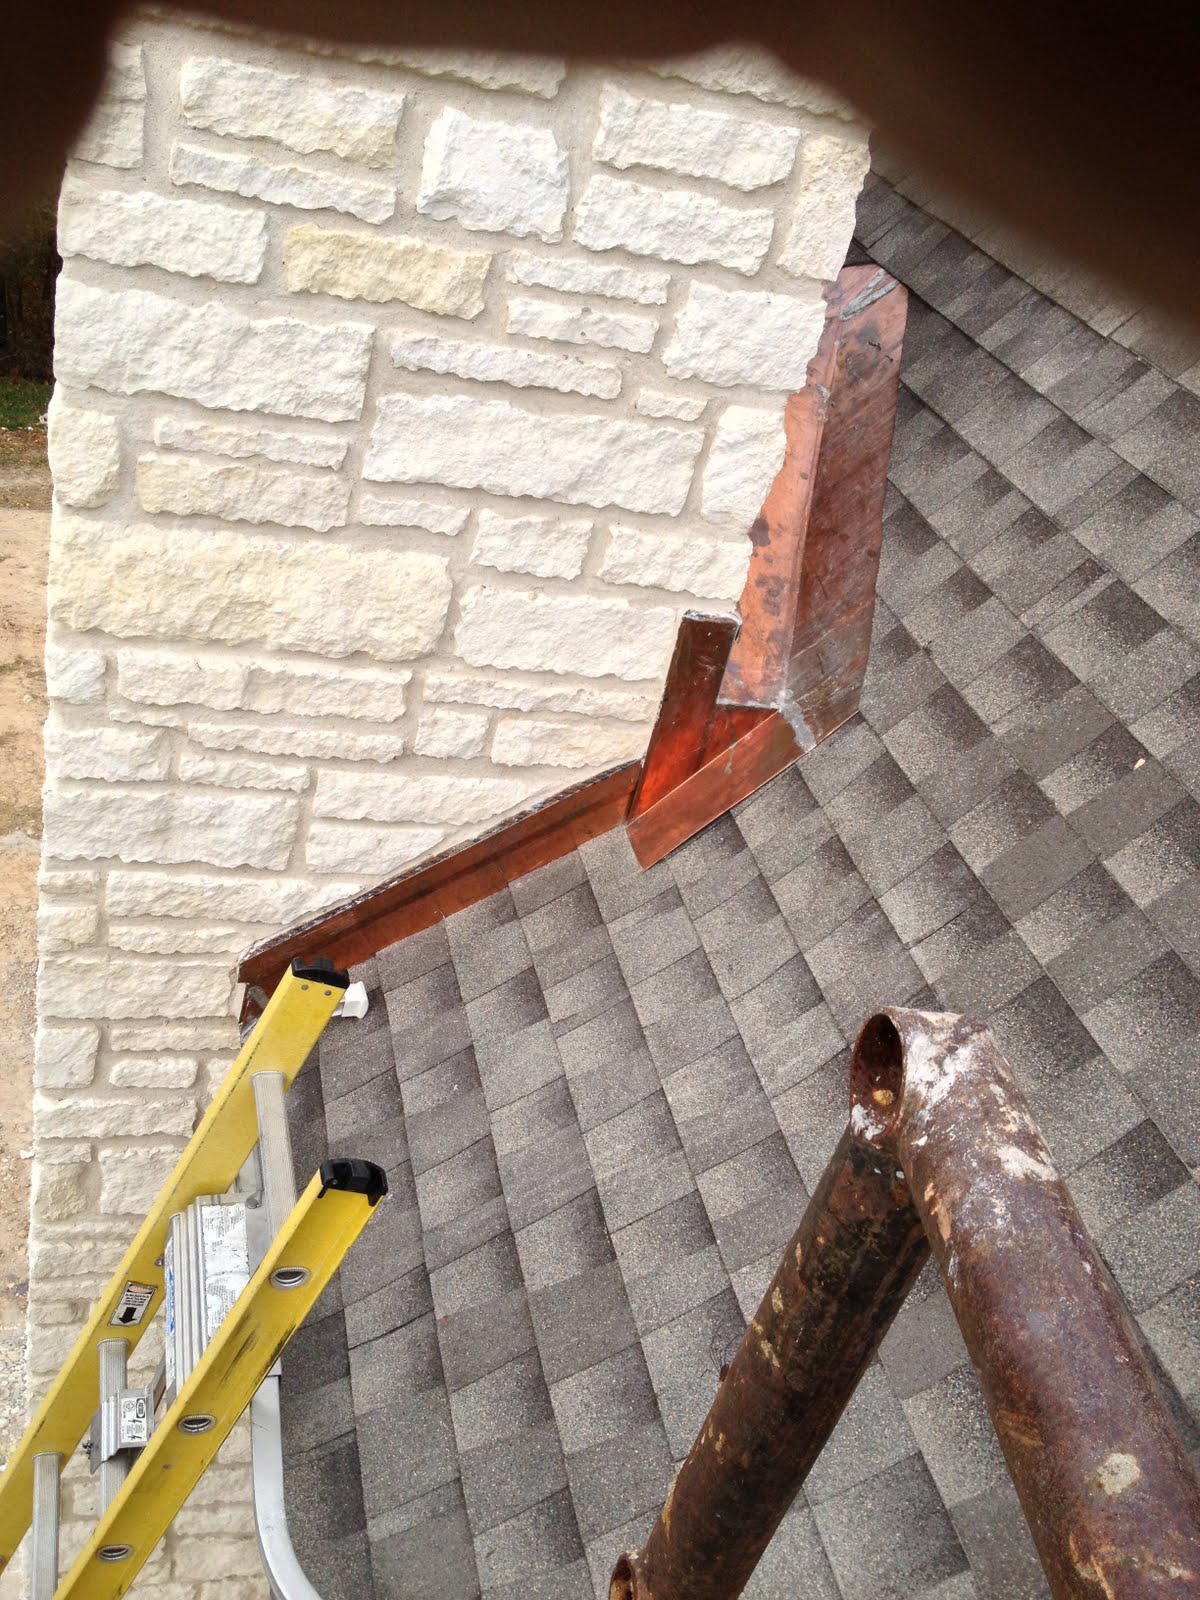
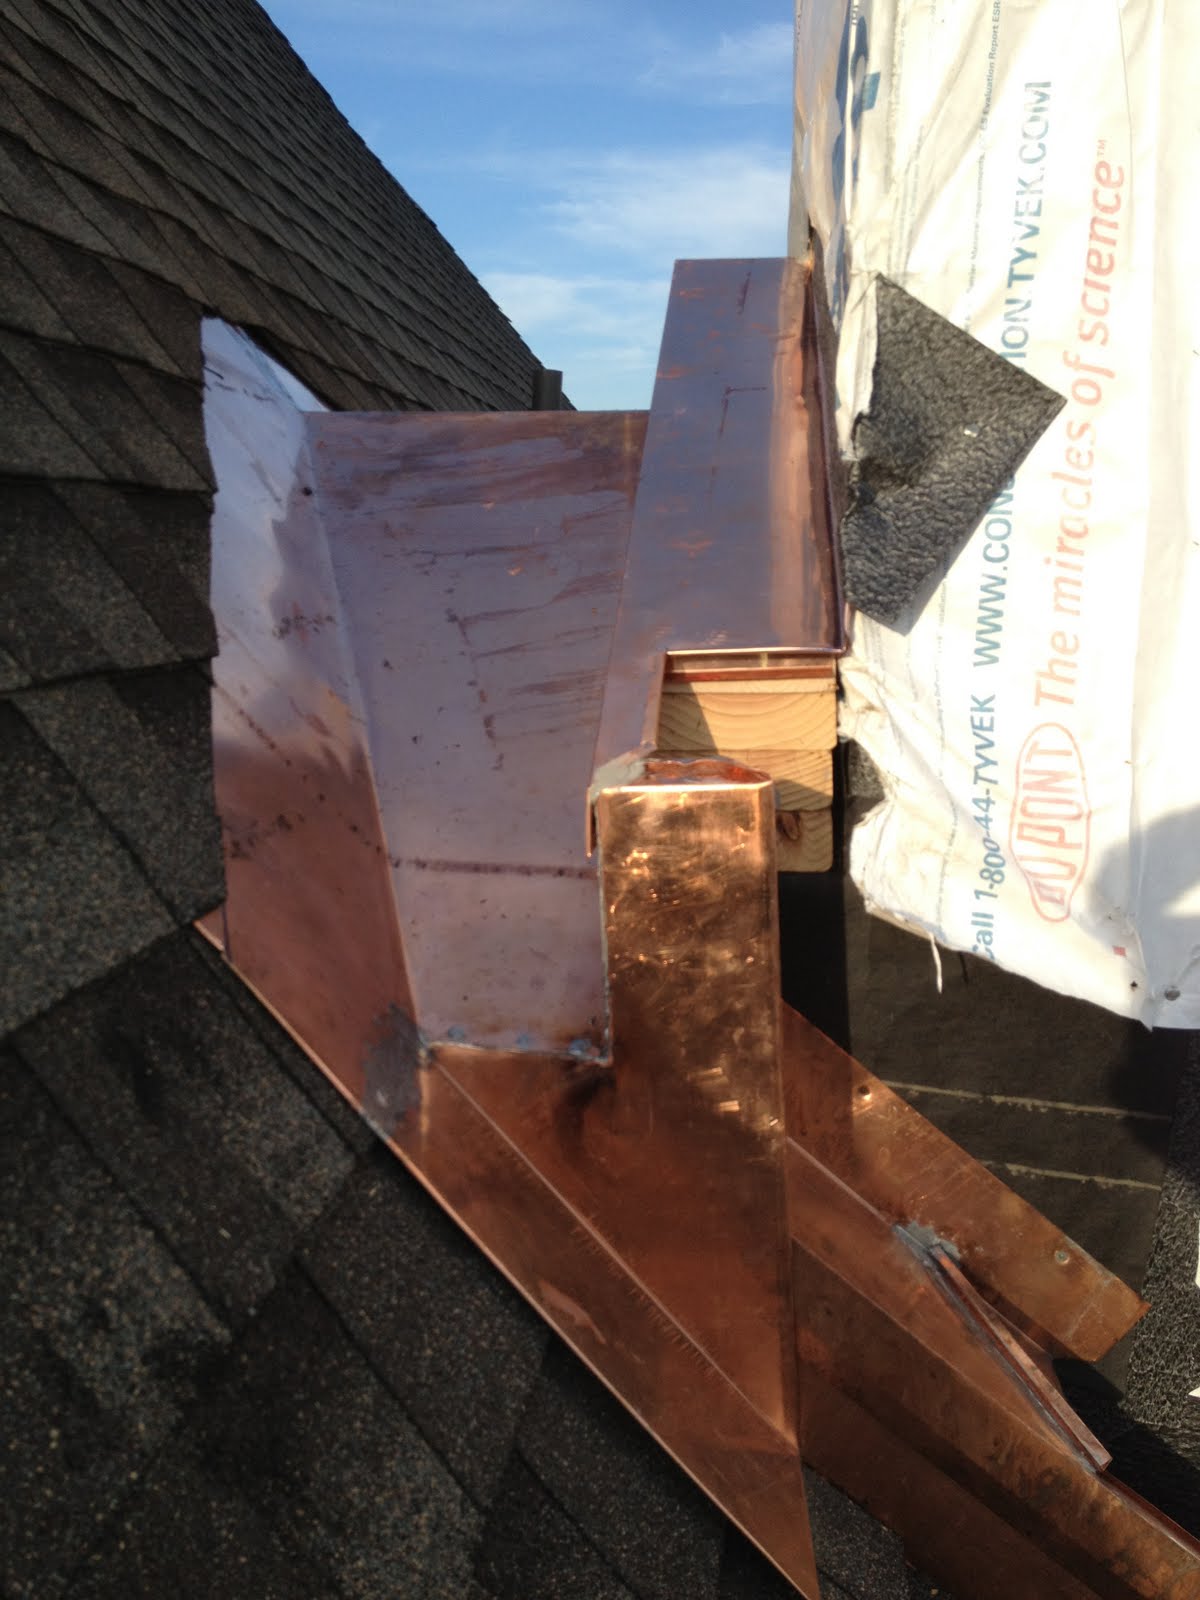
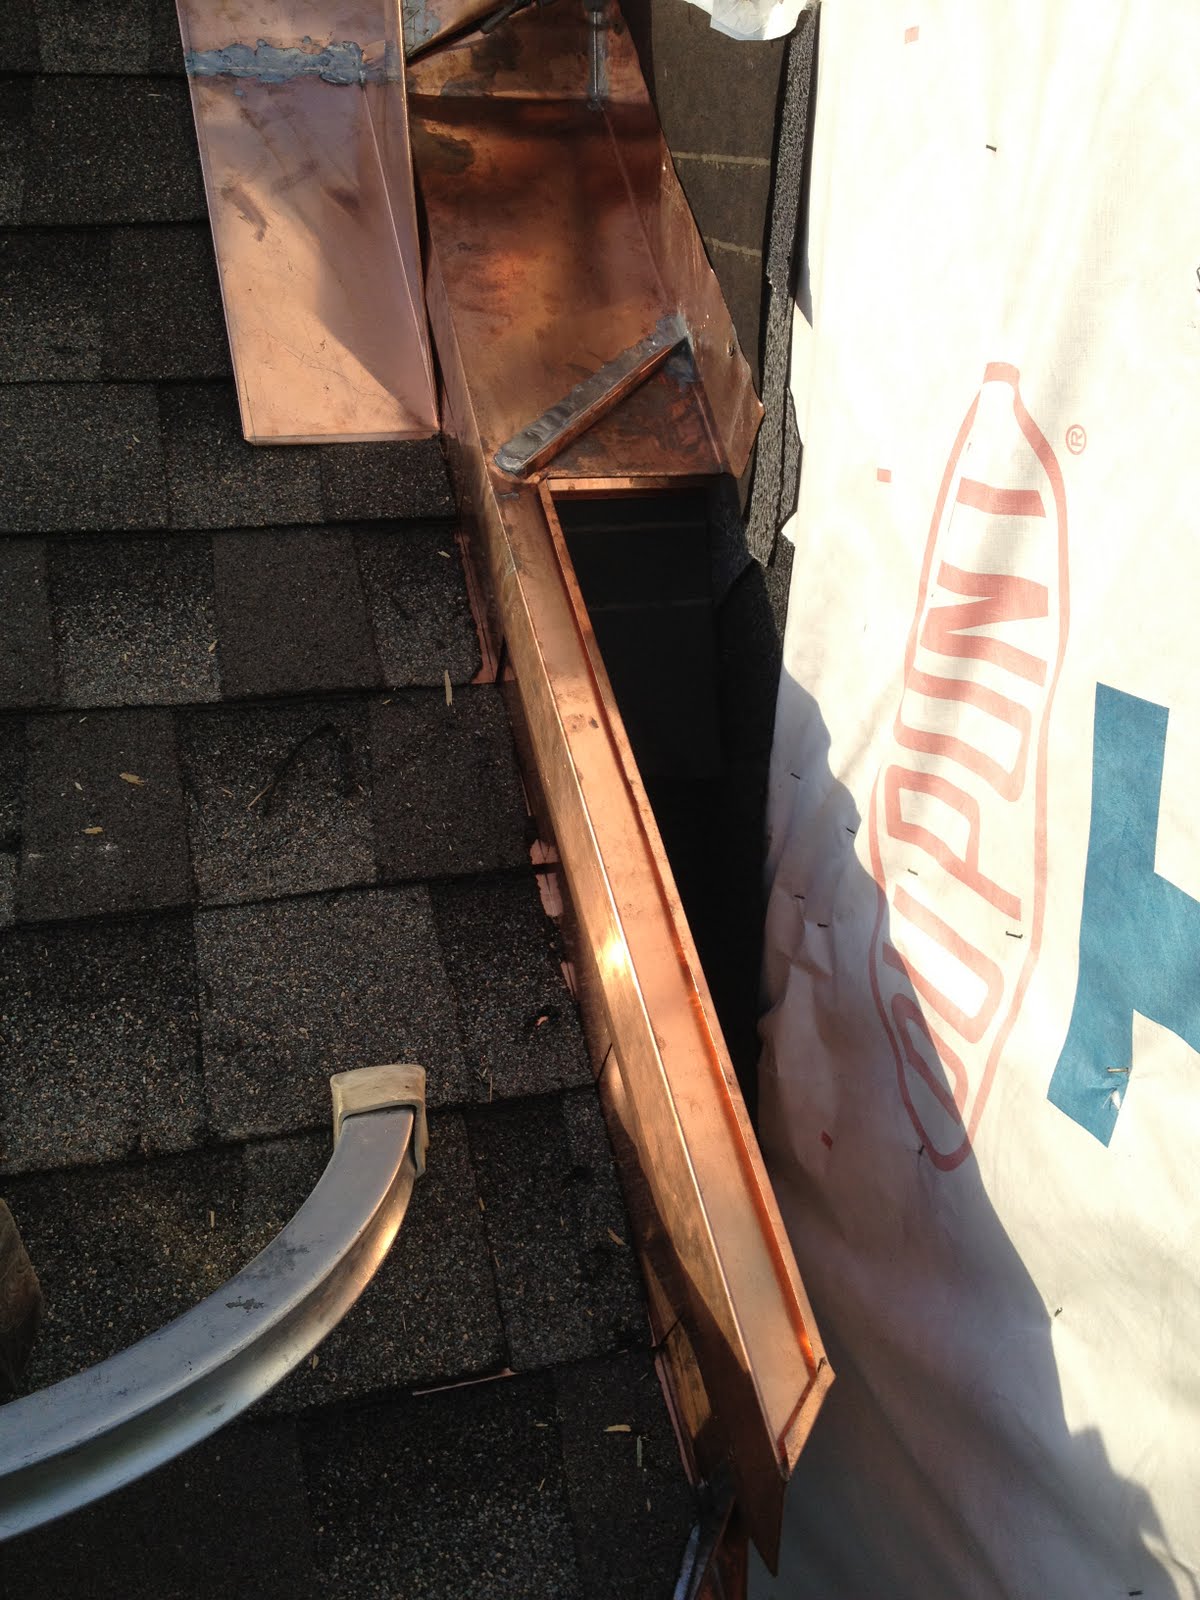
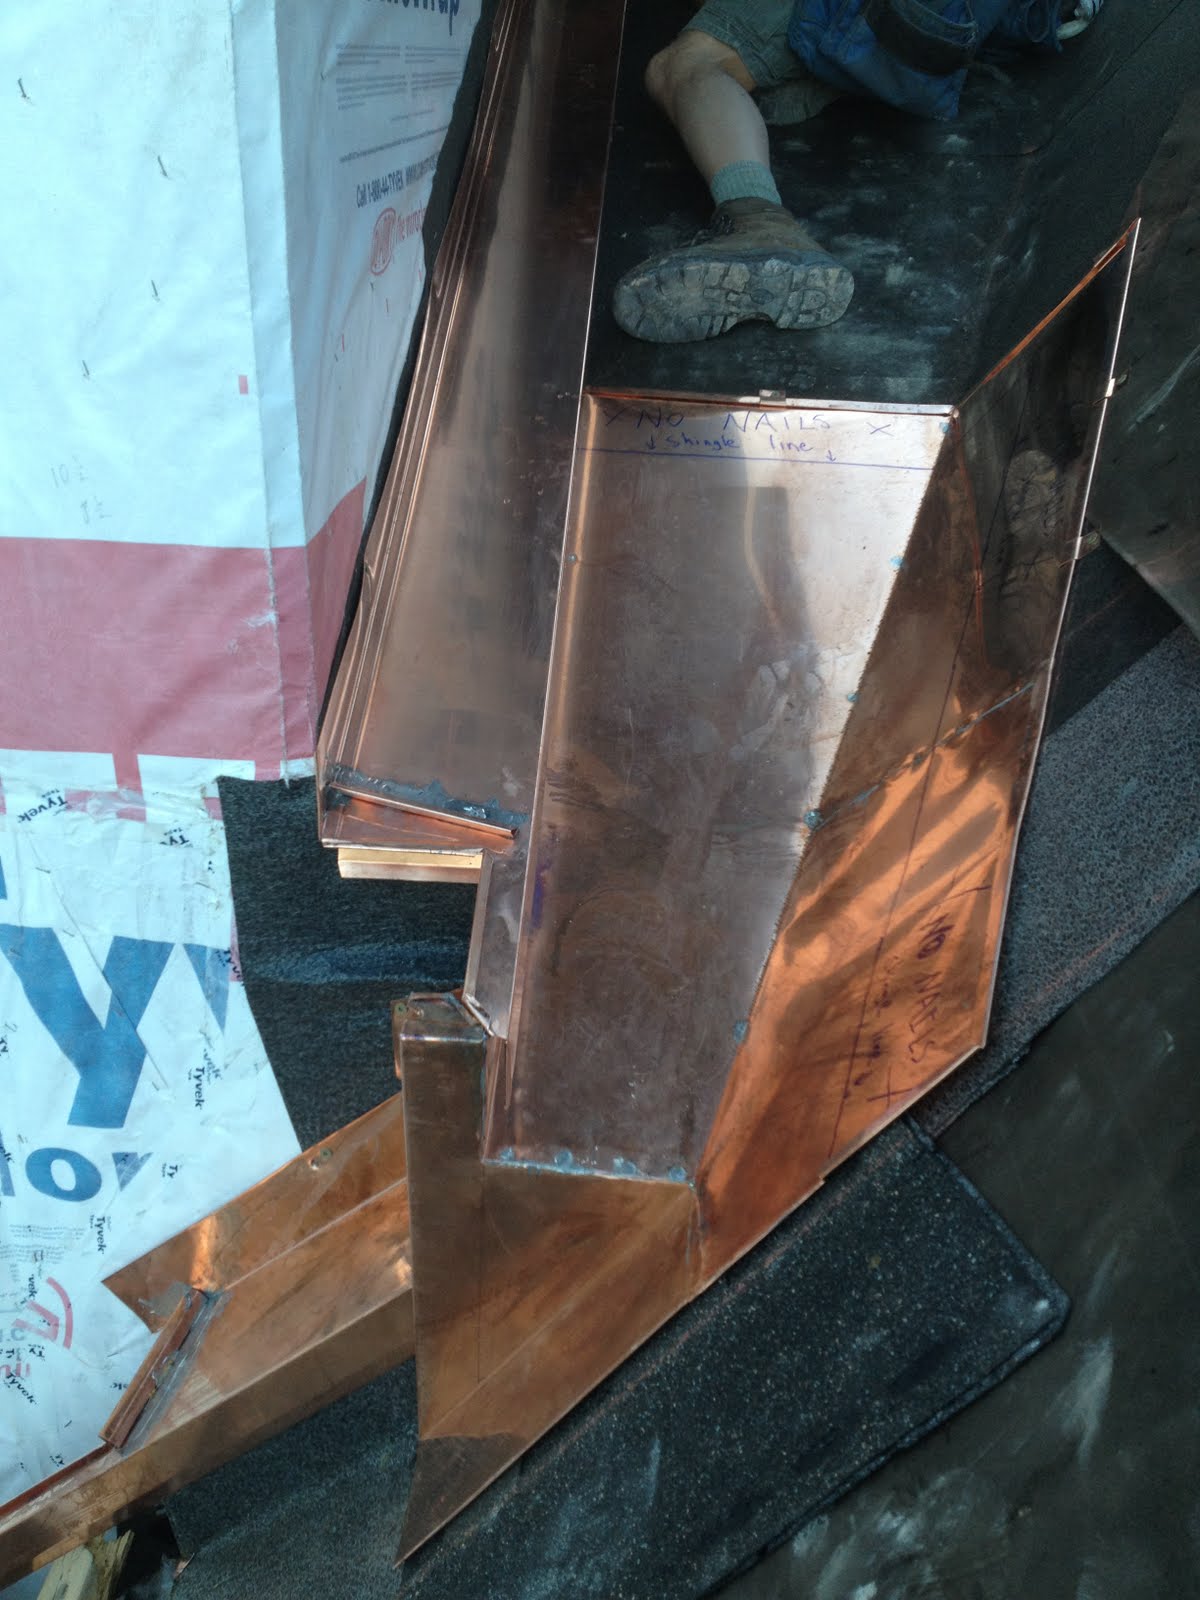
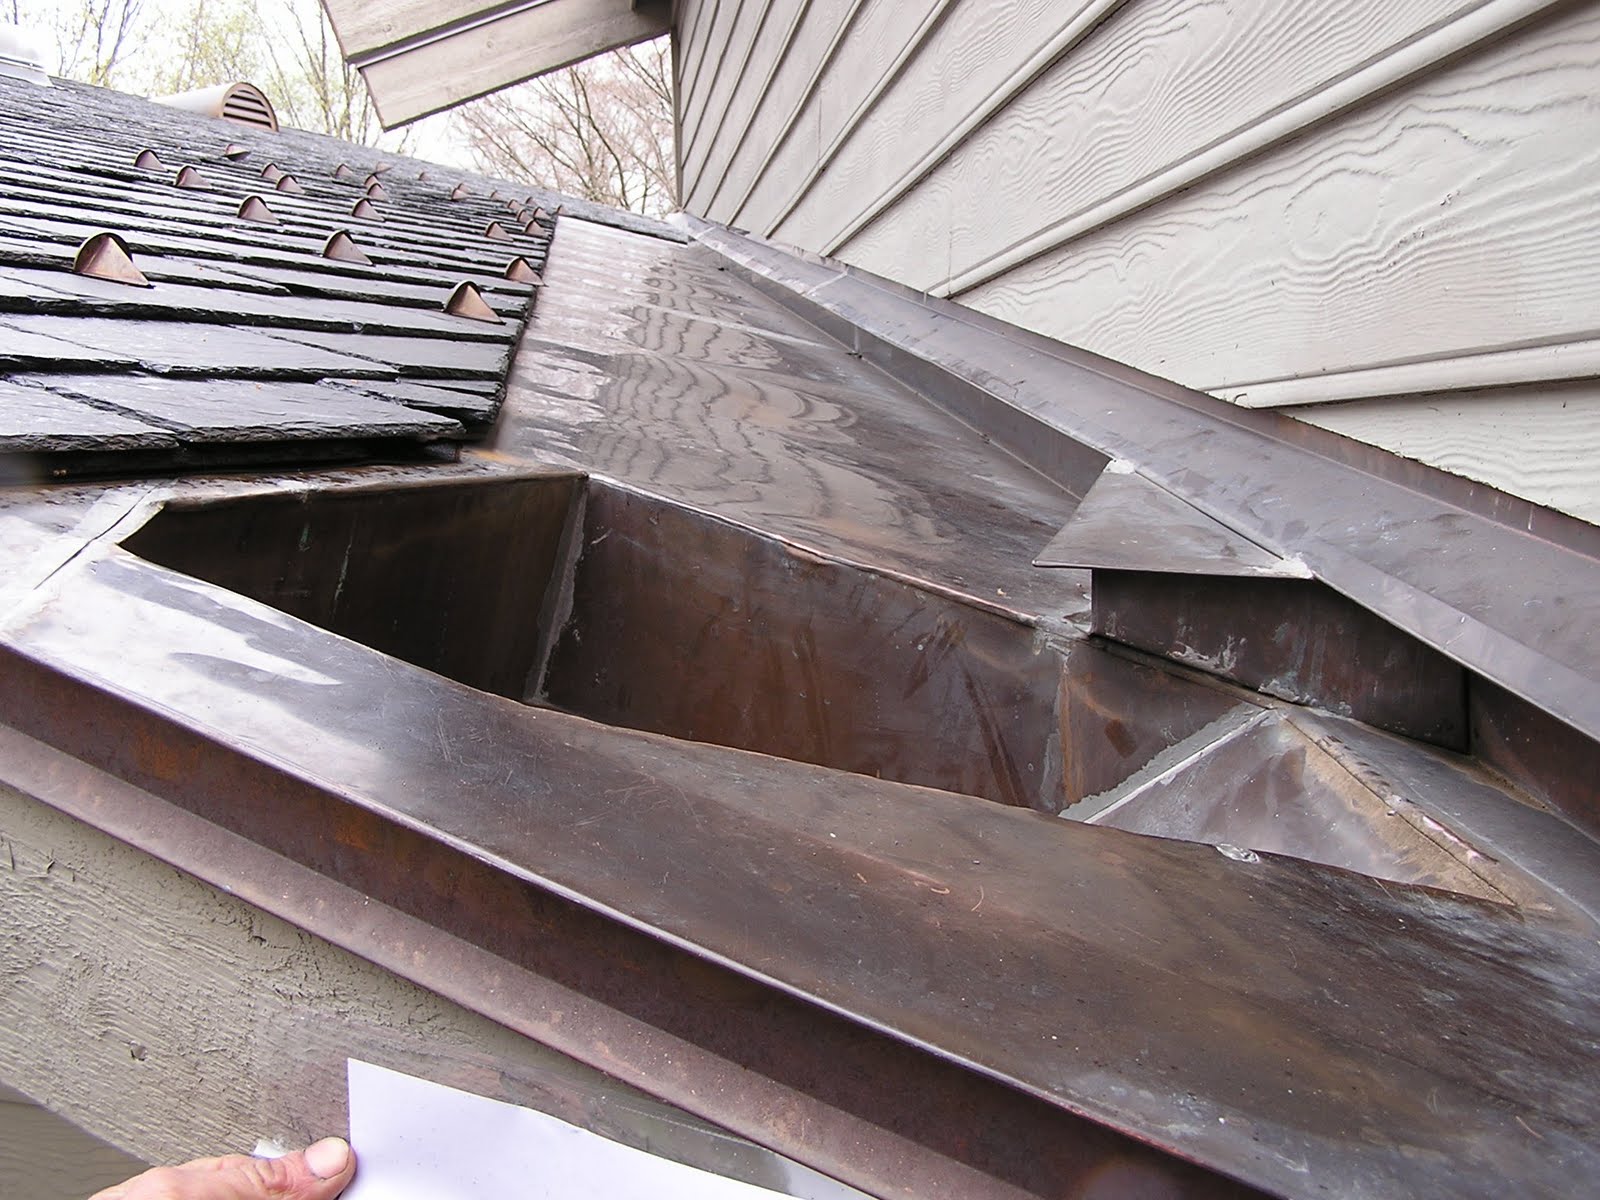
Chimney flashing requires careful planning to prevent wet weather leaks. Notice details below as flashing is prepared to protect the chimney. Through-Wall Flashing gives water a safe way to exit a building. The copper "cricket" behind the chimney uses a steep angle to prevent leaves and debris from collecting, to avoid structural deterioration over time.
Click on photos to enlarge.

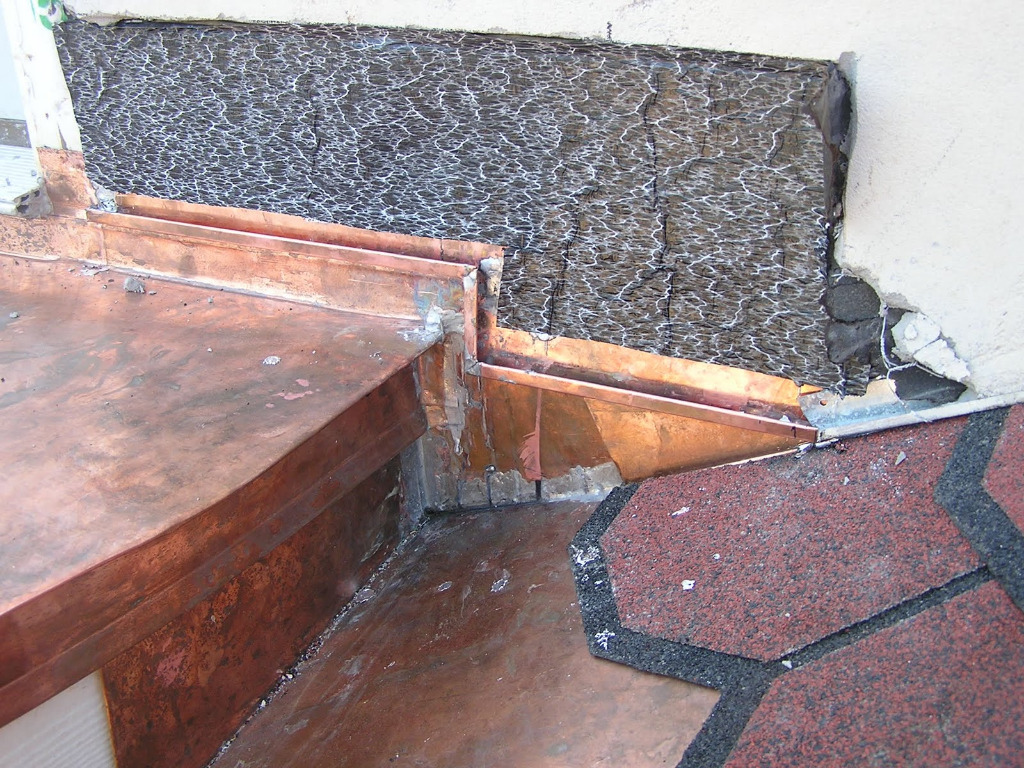
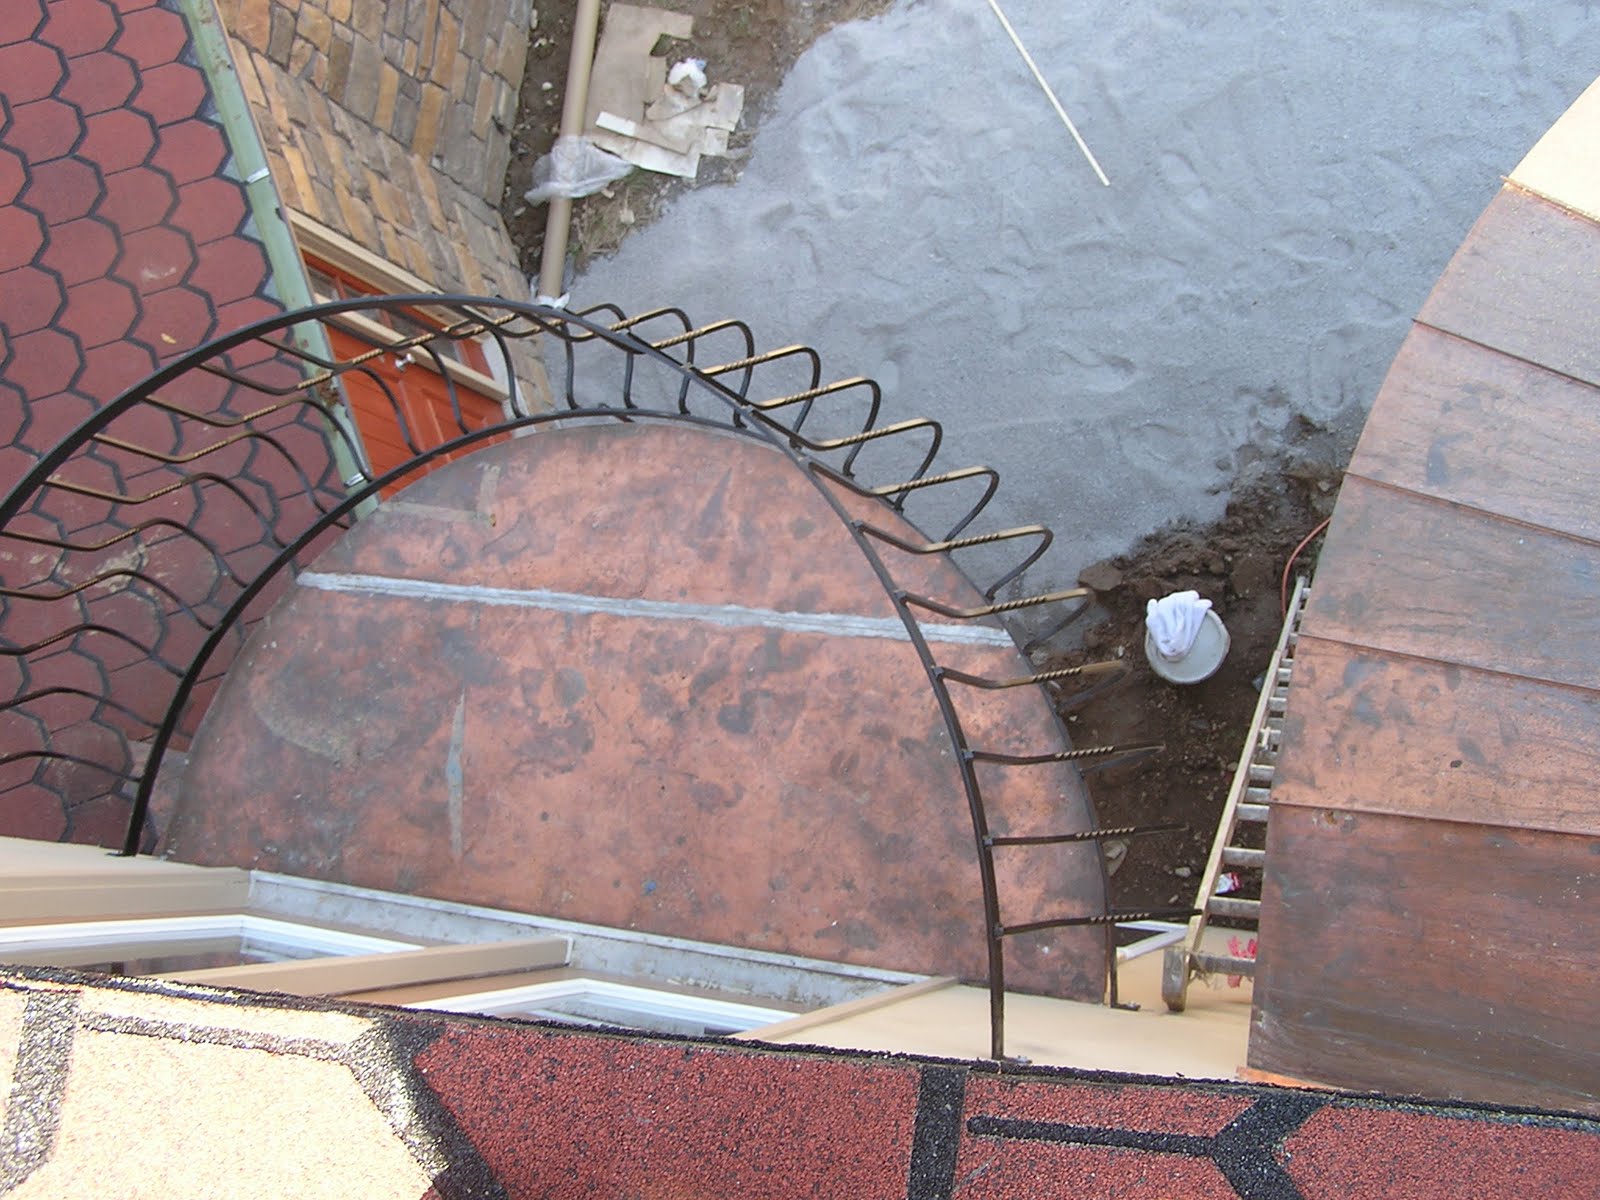
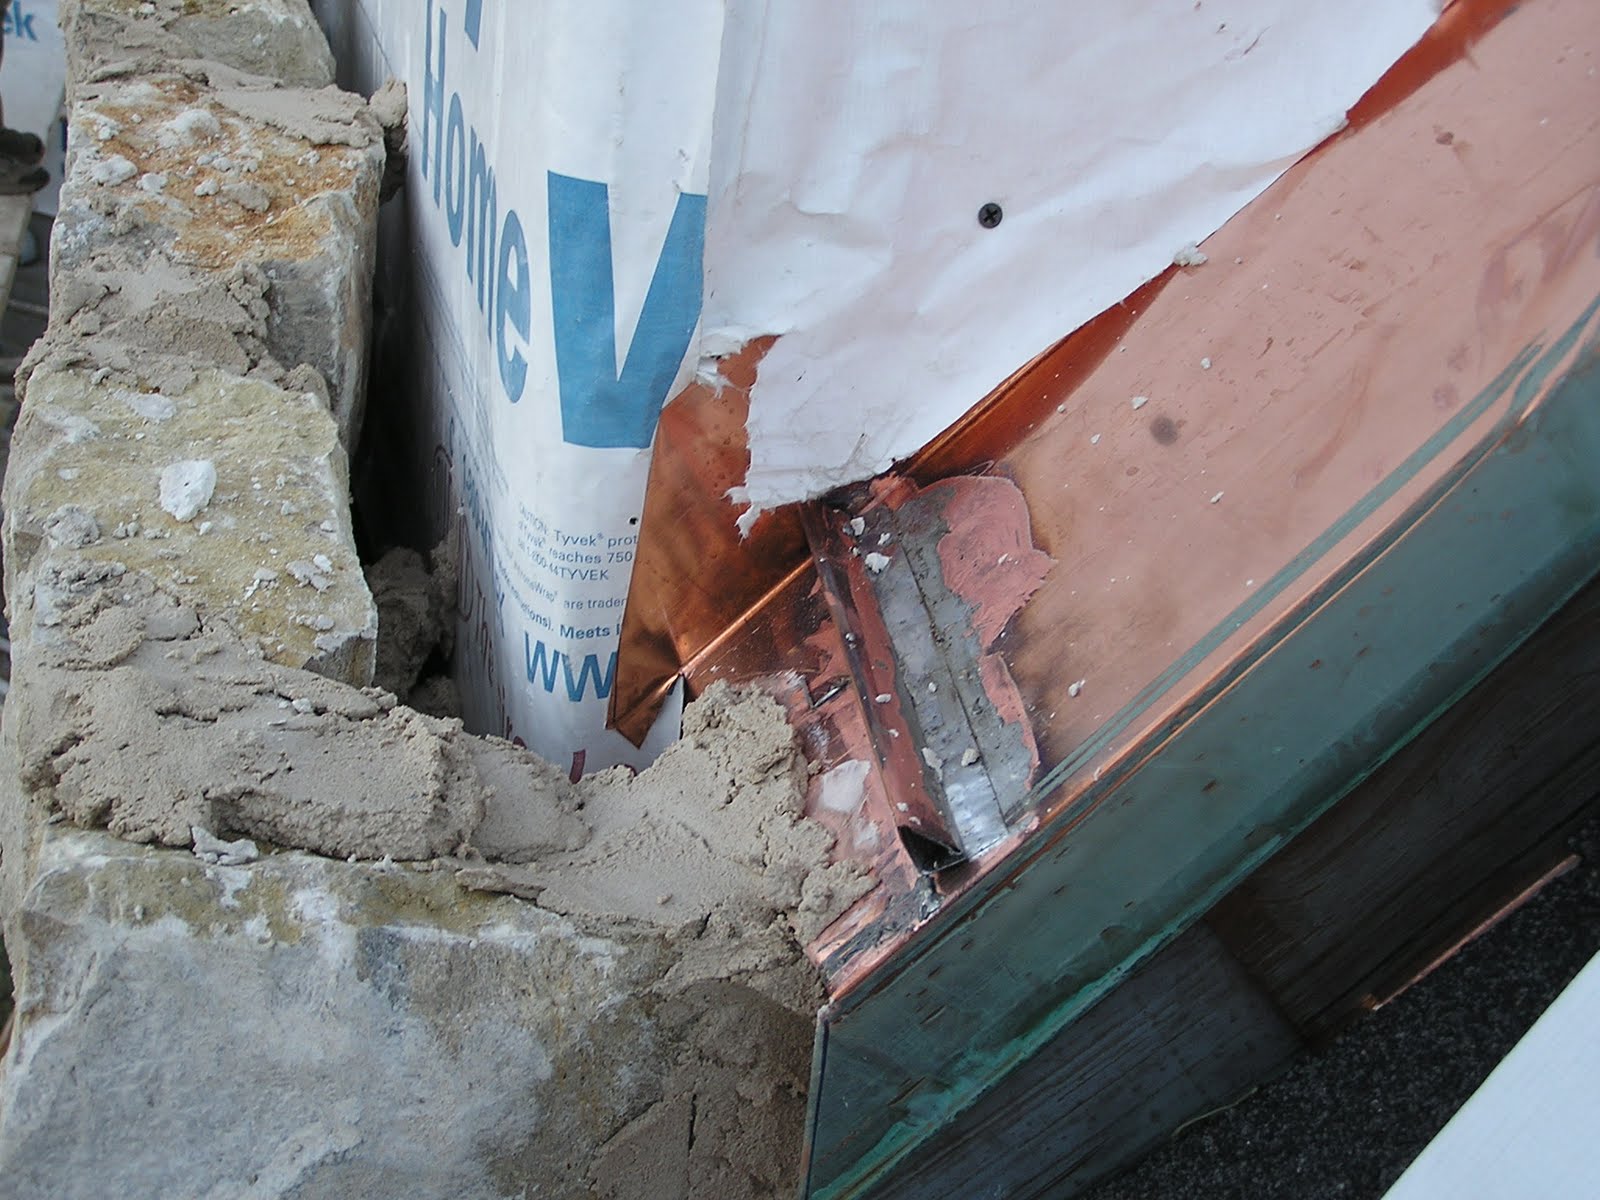
When executed well, Through-Wall Flashing is barely noticeable, as seen below left. But as the second picture below displays, the outer stone wall can sit within a water-tight trough which will lead water down and away from a building's internal structure.
Click on photos to enlarge.
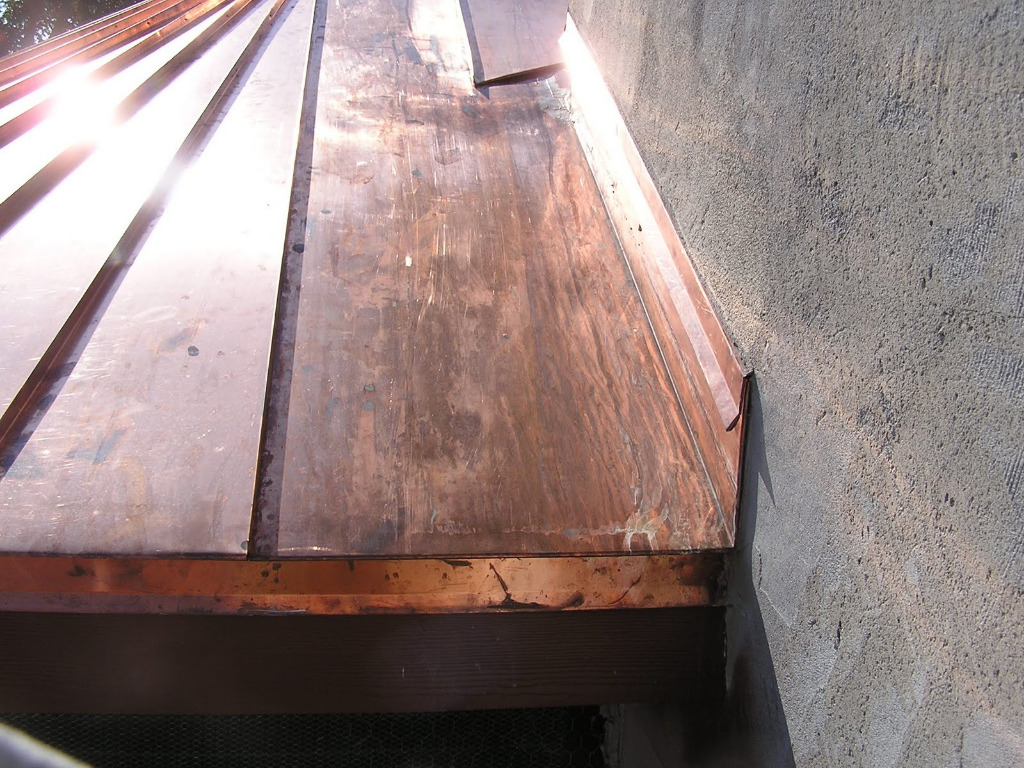
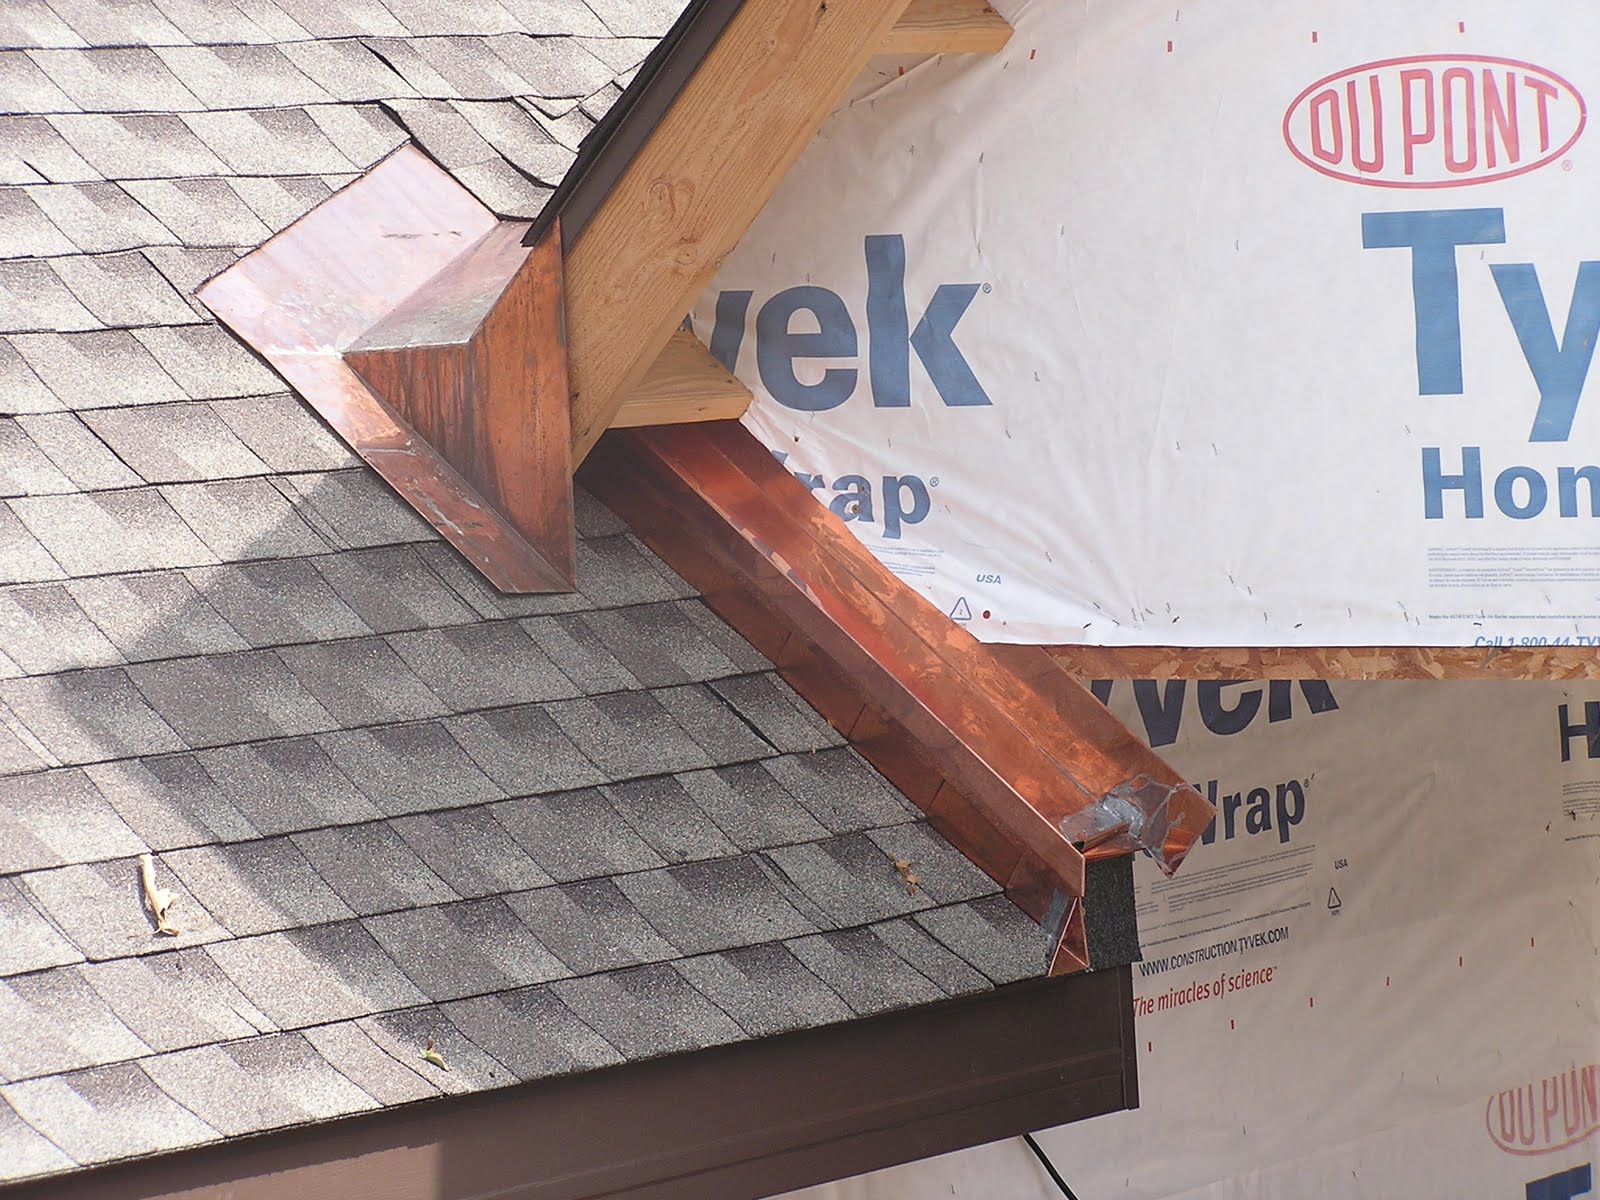
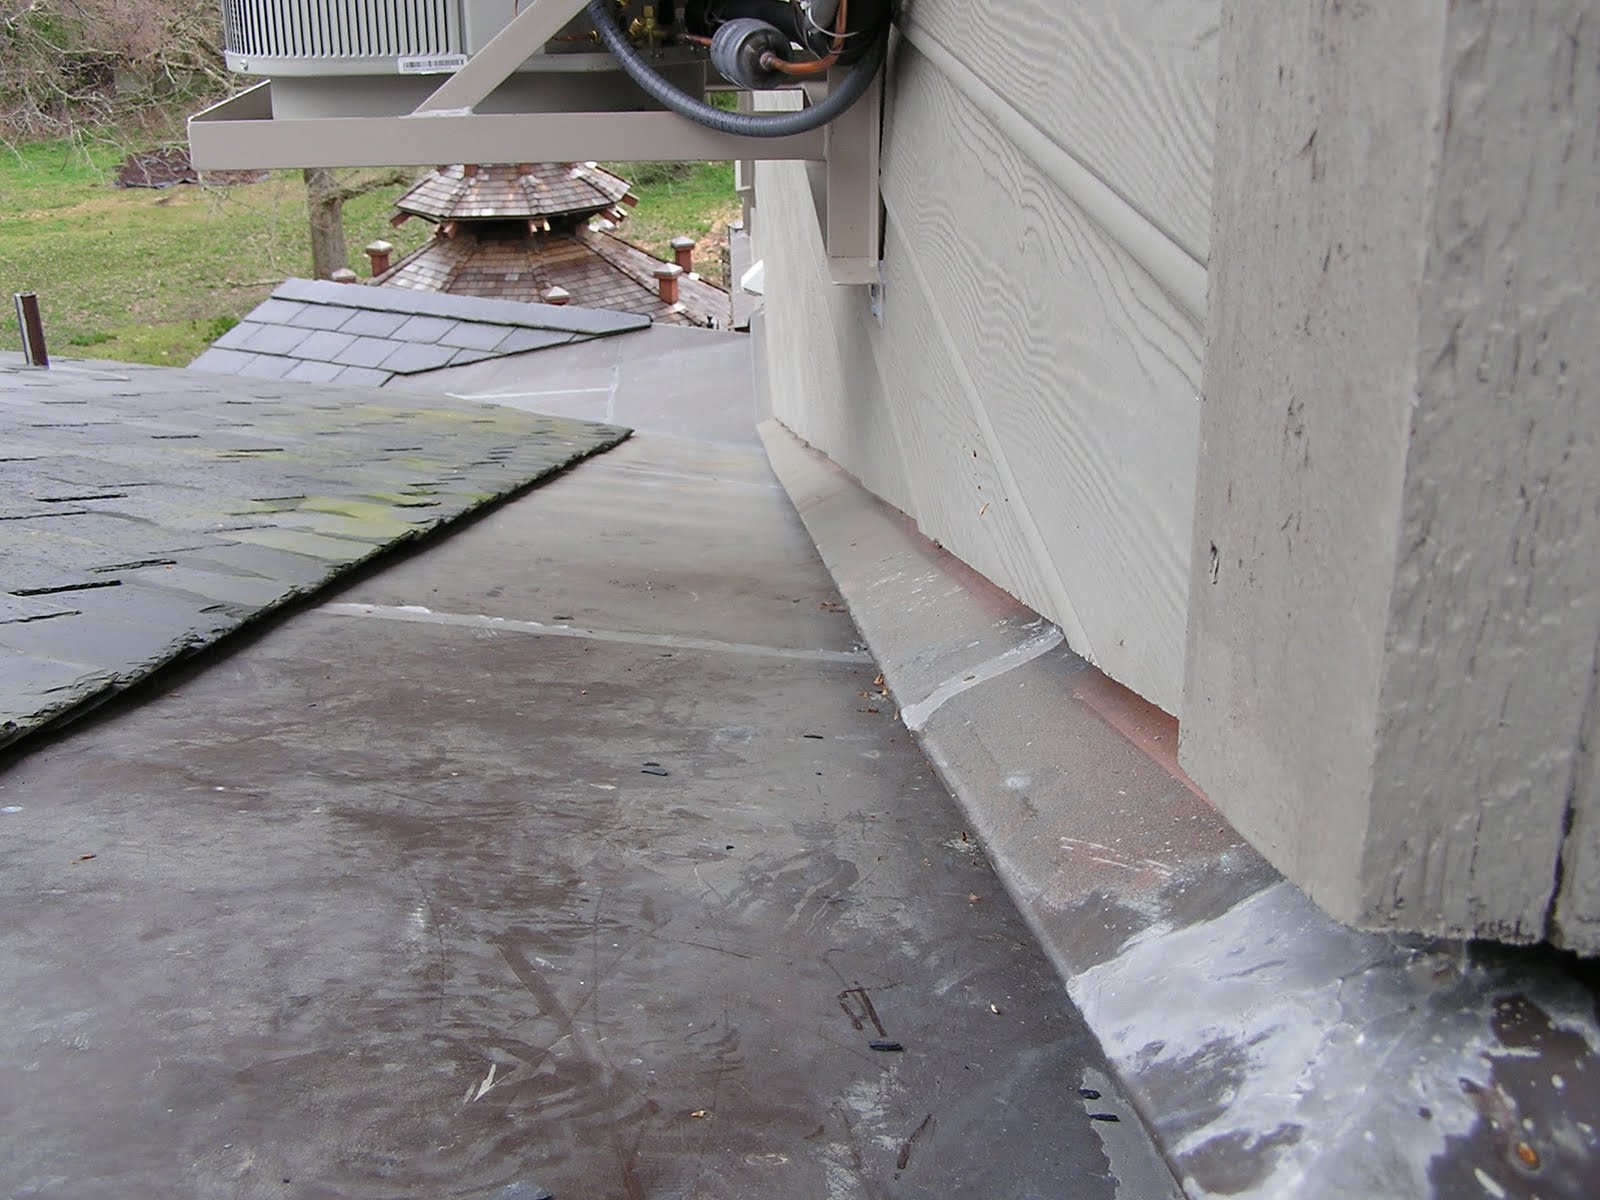
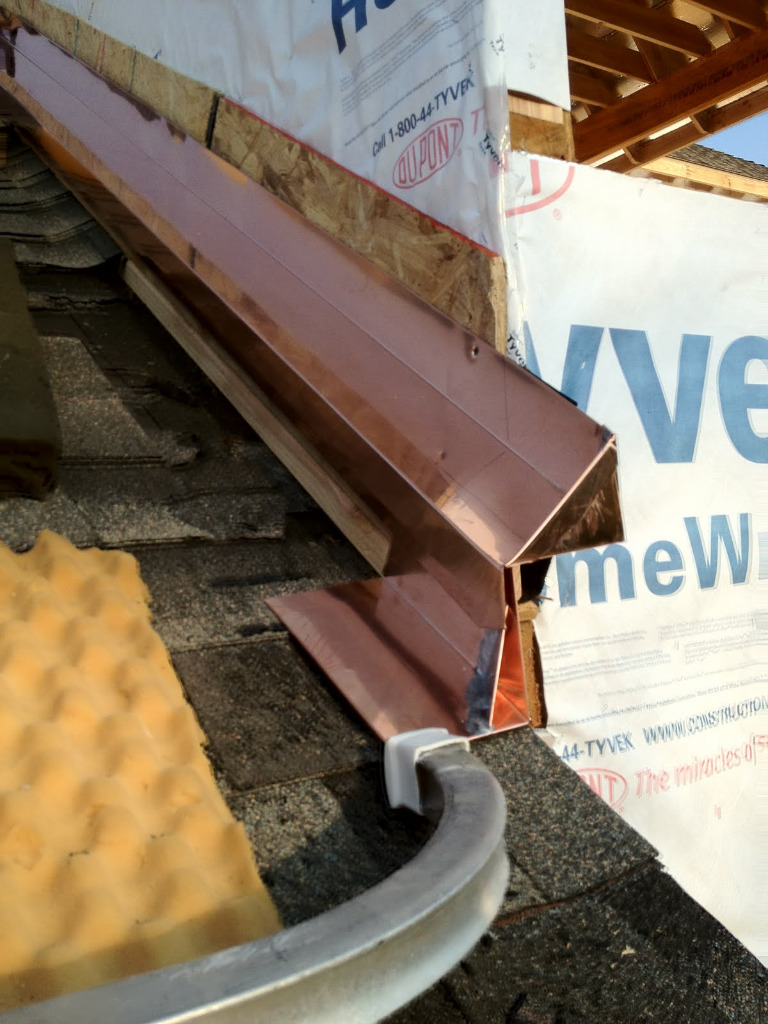
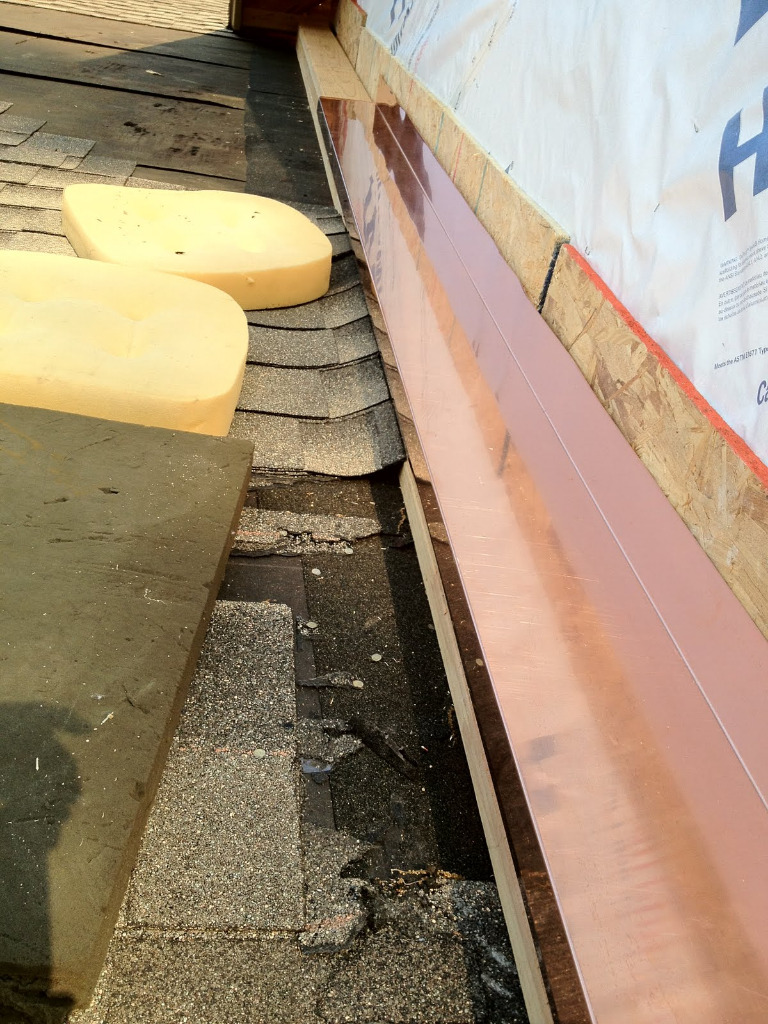
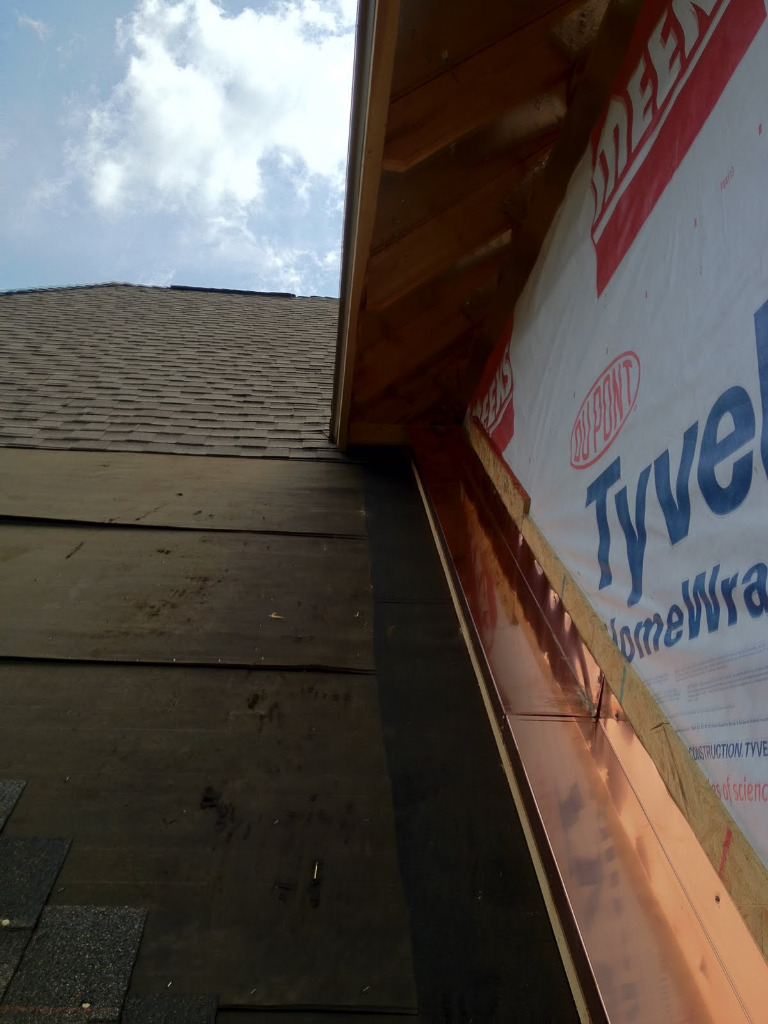
Copper flashing beneath the wood siding shown below is connected to a wide copper flashing which provides a maintenance walkway, protecting the adjacent slate roof. Water coming off this roof flows into the downspout opening shown on right.
Click on photos to enlarge.
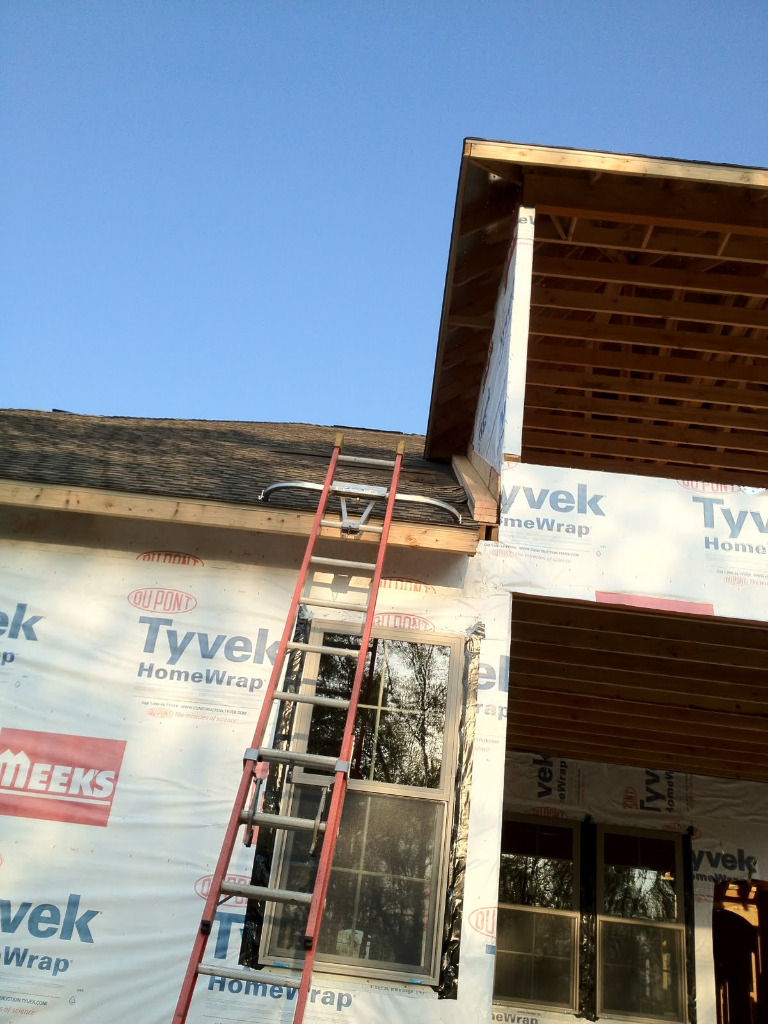
The home below uses Through-Wall Flashing to carry moisture down and away from the side wall adjoining the roof. Close-ups show detail.
Click on photos to enlarge.
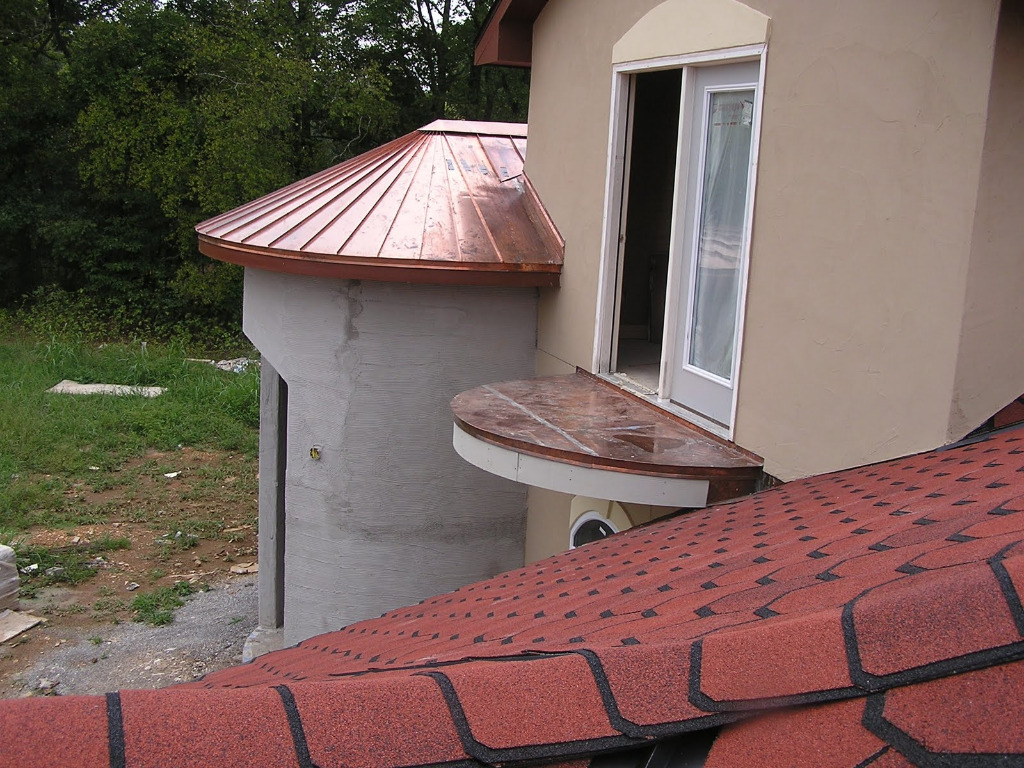
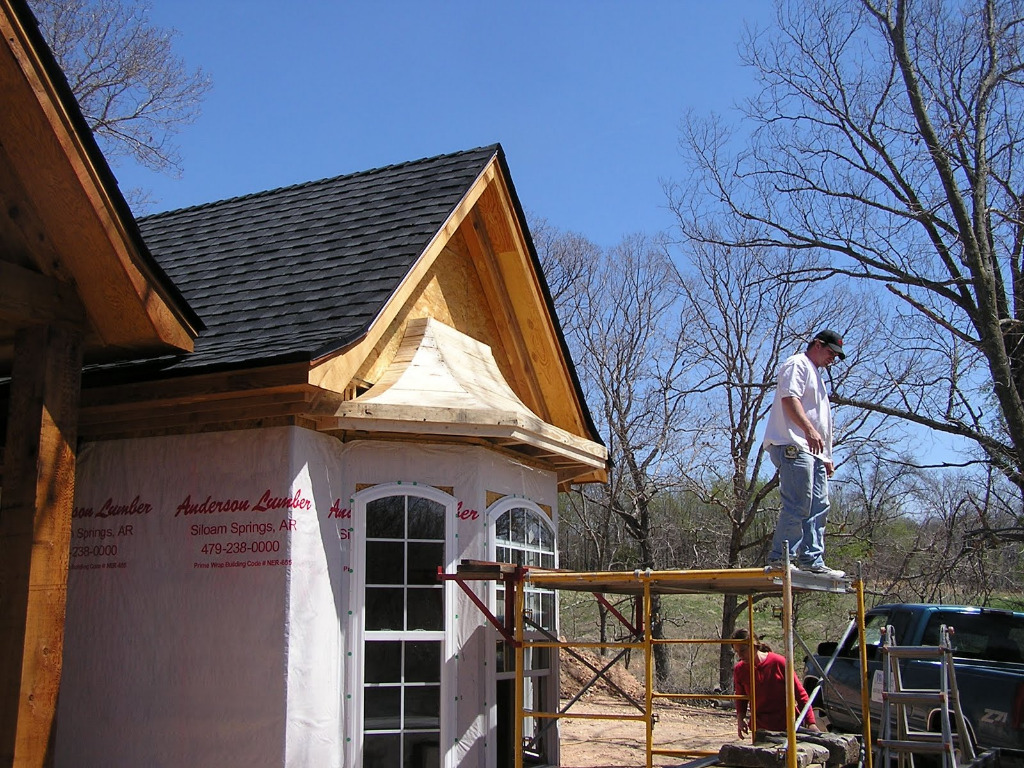
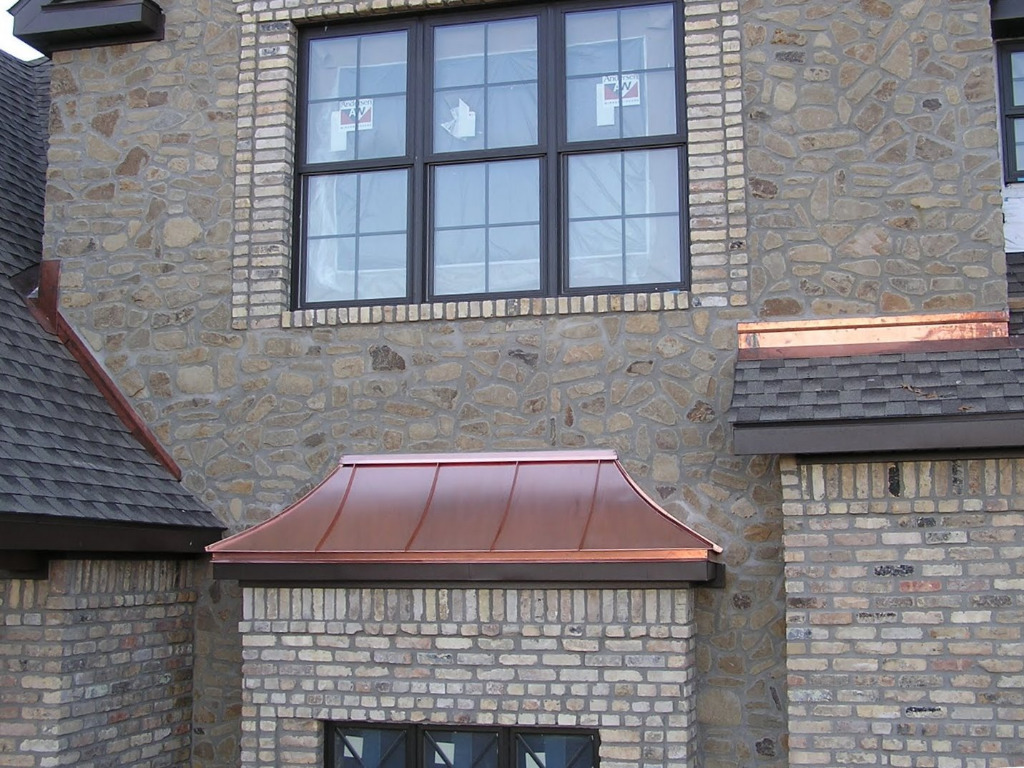
Through-Wall Flashing protects bay windows from wet weather leaks. Check out these examples.
Click on photos (not captions) to enlarge.
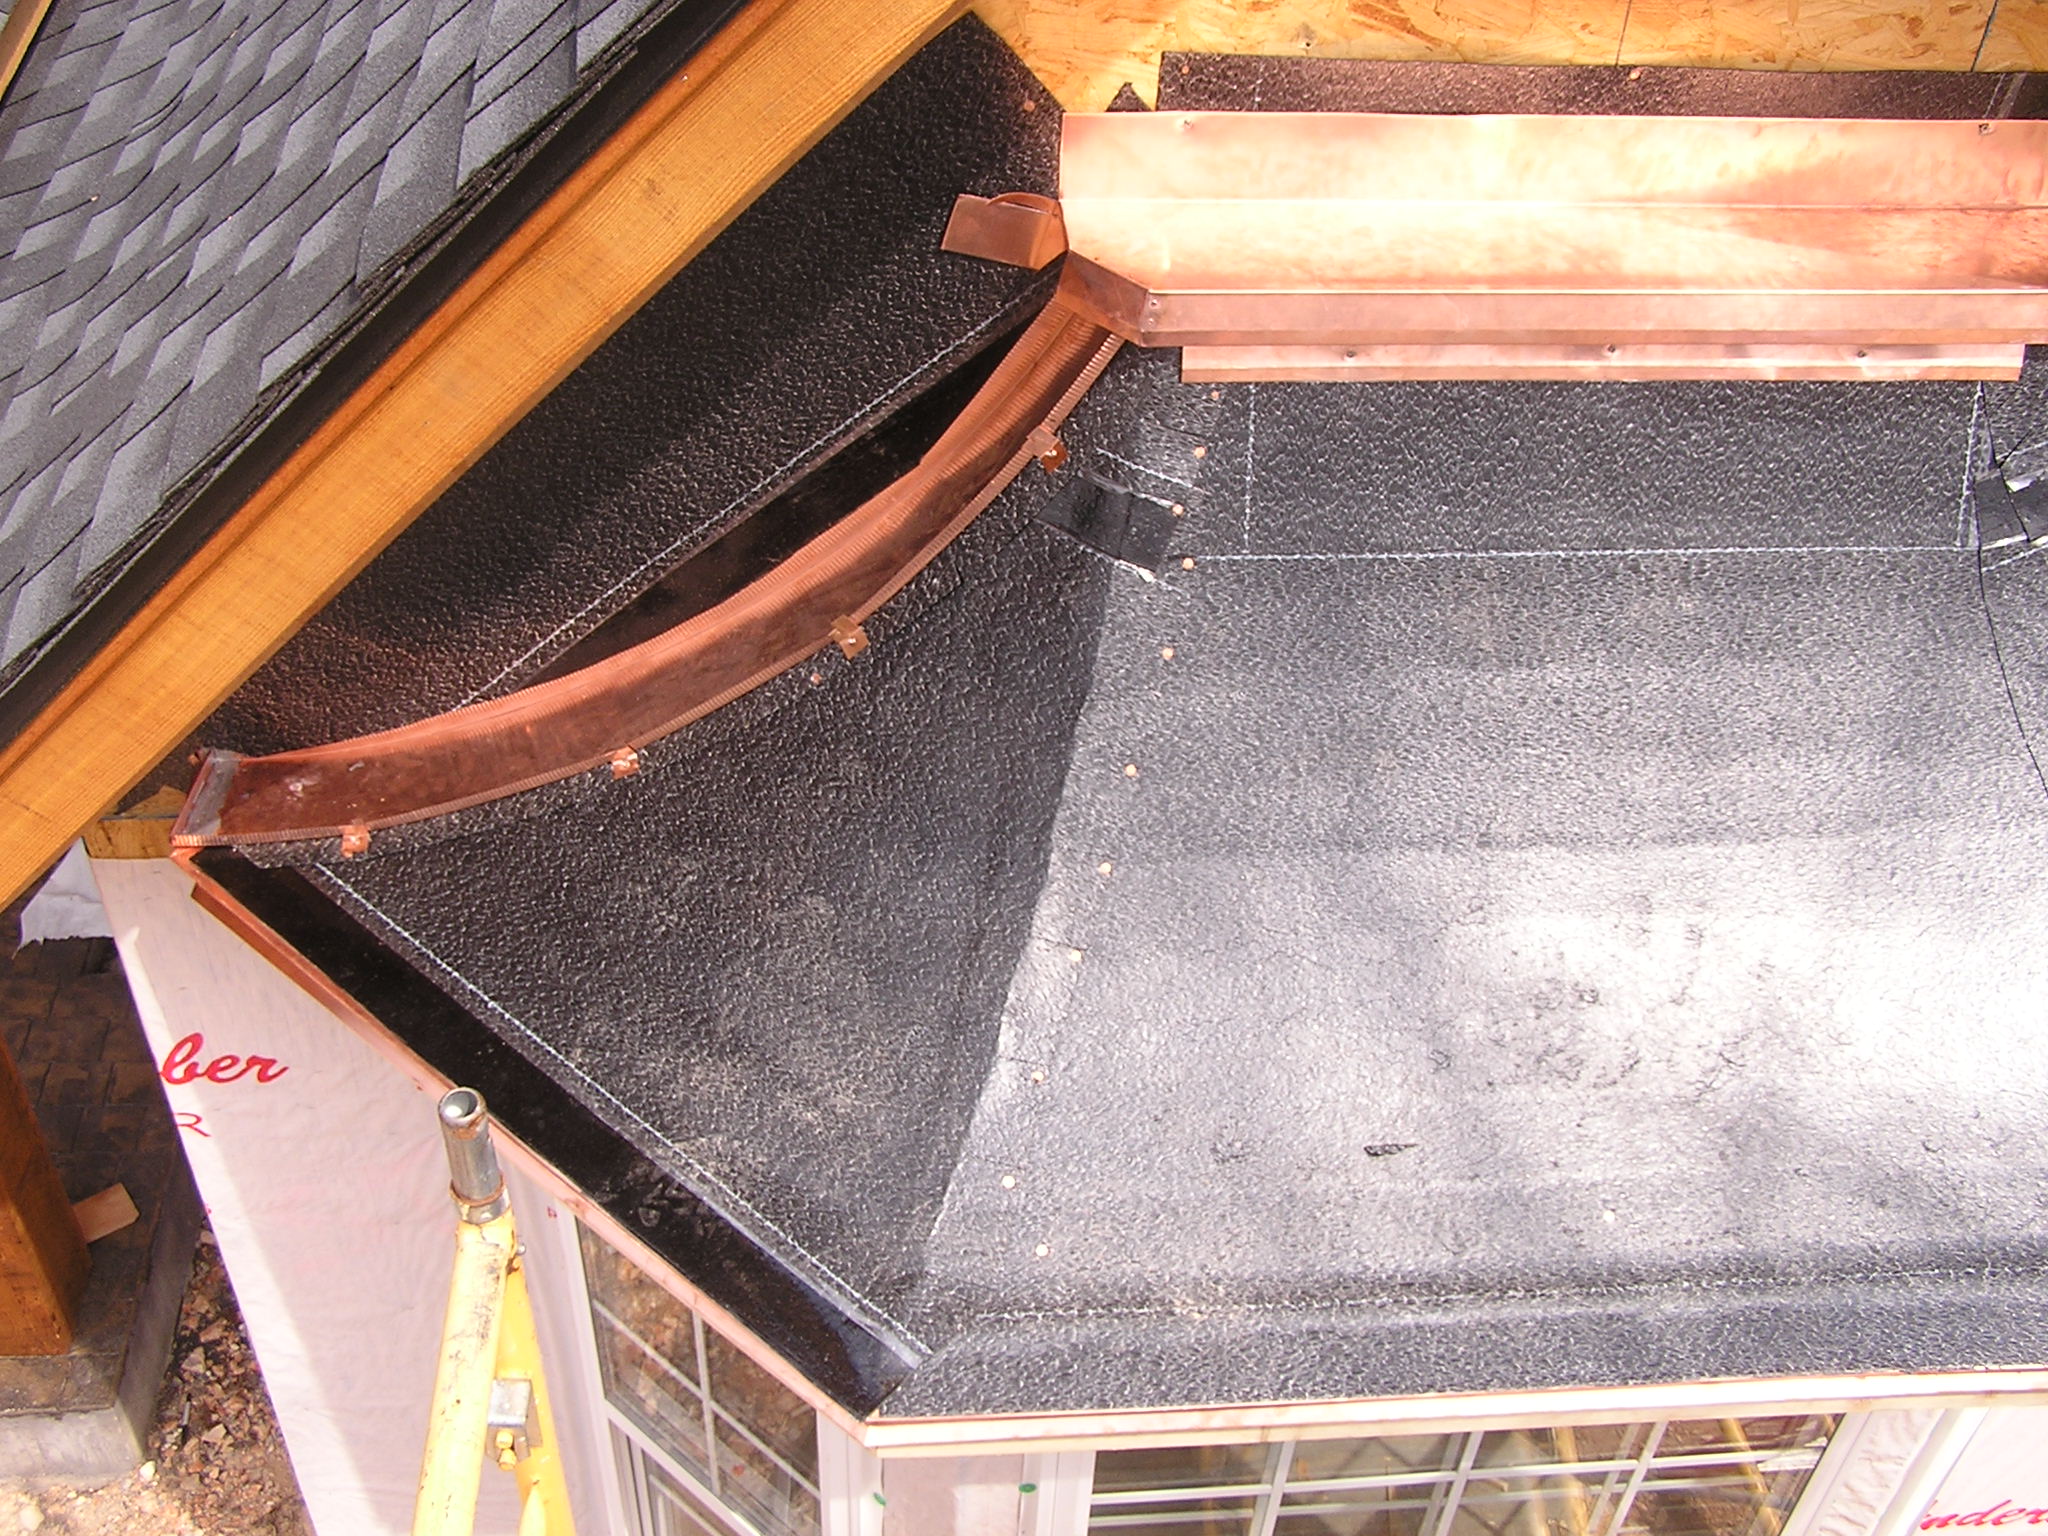
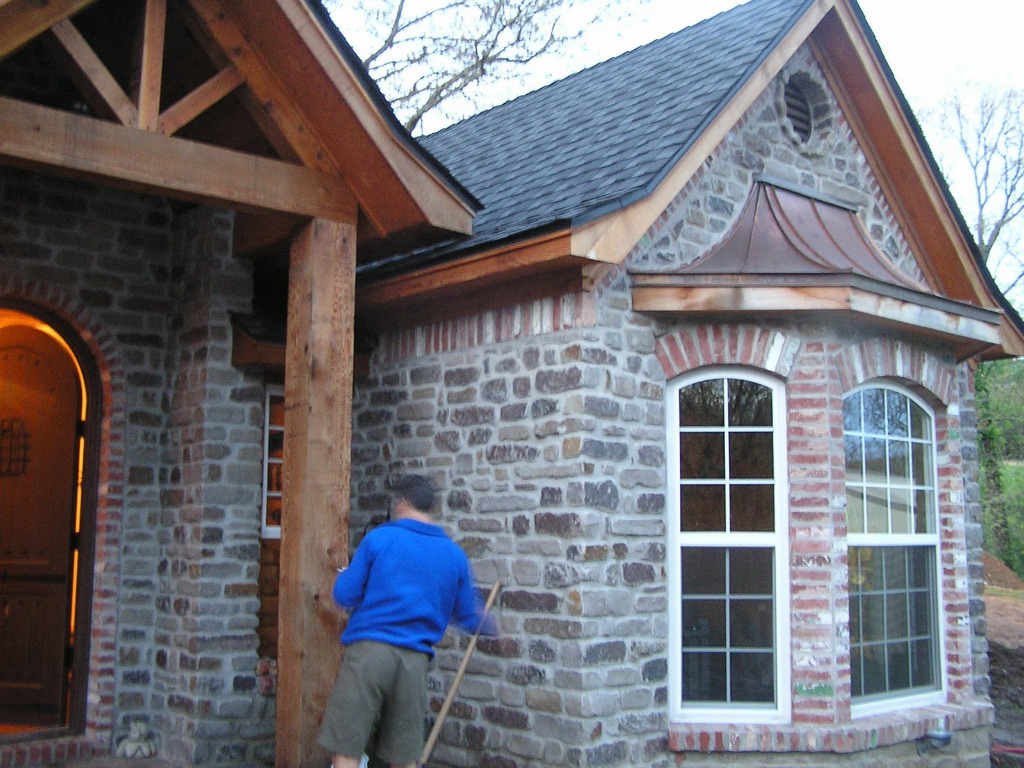

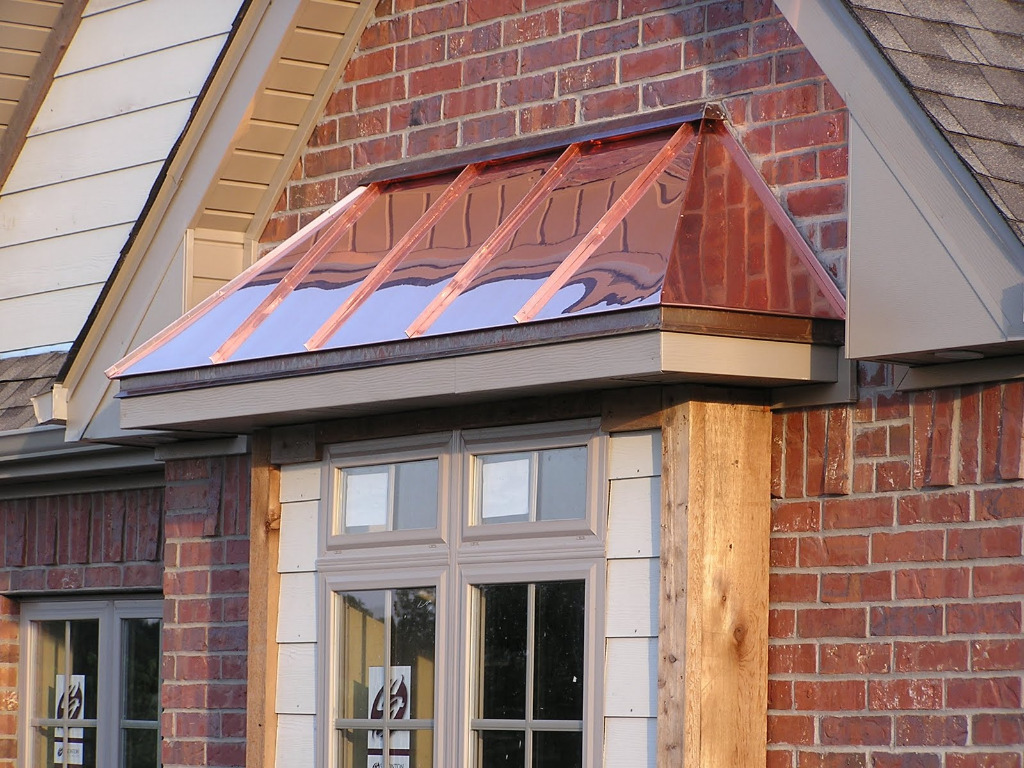
Click here to see more details on how we protect bay windows from wet weather leaks.
You may also want to check out our other Flashing galleries...